
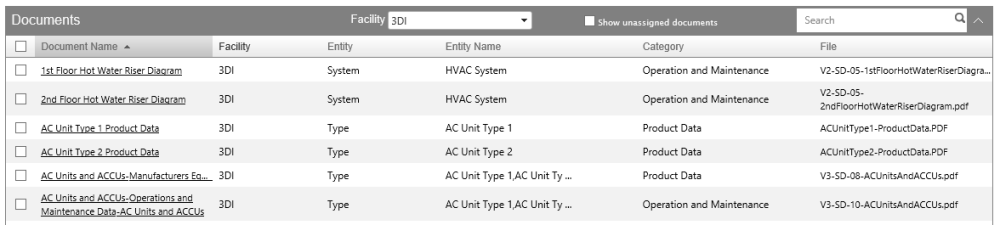
The Document page displays the list of documents assigned to the entities (types, components, systems, etc.) from the current project.
To add a document click the Add Document button. The next page will show a “wizard” that allows uploading one or more documents. Click the Select button in the Upload Document section, select one or more files from your computer and click the Open button to upload them. You will see a message “All the files are uploaded successfully, please click next to map the documents”. Click the Next button at the bottom right part of the wizard.
The Map Document page of the wizard will show the uploaded files in the grid and several fields on the right to select what entities these uploaded documents will be assigned to.
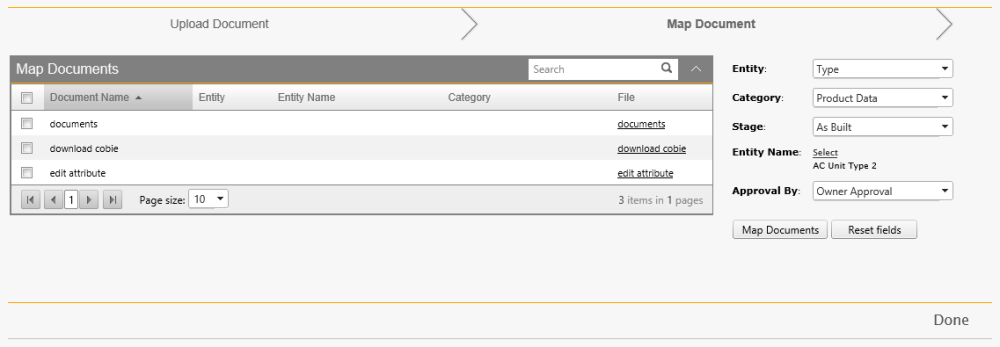
Select a value from the Entity dropdown. Click on the Entity Name field’s Select link and it will show a popup with the values corresponding to the selected Entity. For example, if you select an option Type in the Entity dropdown the Entity Name popup will show facility types. Select the values for other dropdowns: Category (those categories can be customized per each owner organization), Stage, Approval By. These fields are standard per COBie specification. Select the documents in the grid (click the boxes next to Document Name) and click the Map Documents button. You will see that the selected documents are now assigned to the entities. Click the Done button at the bottom right of the wizard screen to get transferred to the Document grid.
The Document grid’s field “Show unassigned documents” can be used to display the documents uploaded to the server but not assigned to any entity yet.
When a document record is created in the database (for example, when a COBie file is imported) you can see that record in the grid, but the File column will show the values not hyperlinked to the files since there are no files uploaded. When a file is mapped to the record then the File value will be hyperlinked.
Click on the File Name to open the document profile page.
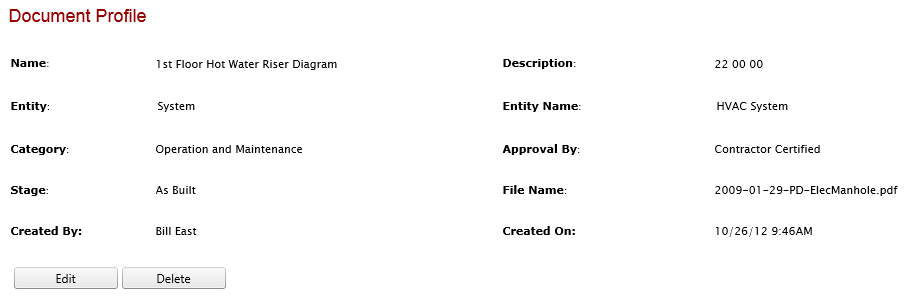
Click the Edit button to edit the document metadata or upload a file: use the Browse control in the File Name field to select a file from your computer.
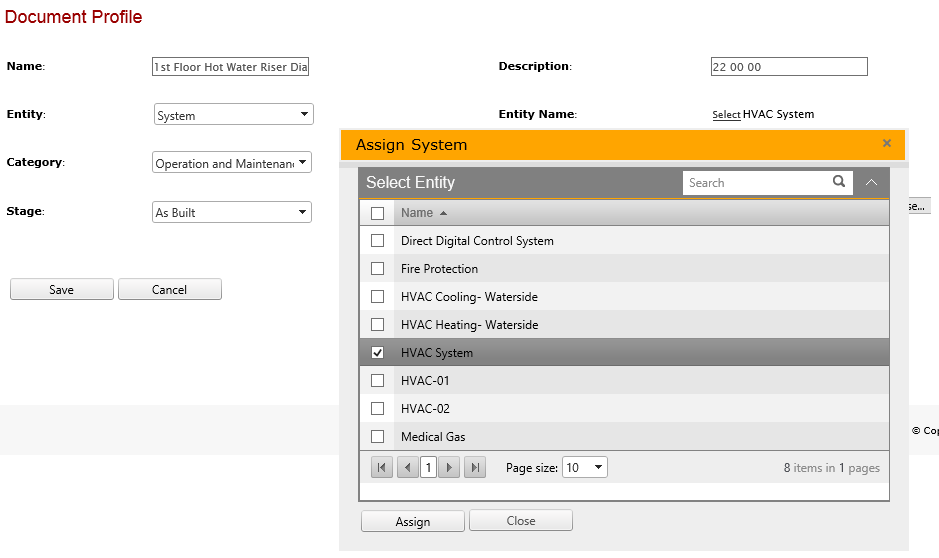
To assign a document to an entity (component, space, system, etc.) select the appropriate value in the Entity field and then click the Entity Name field’s Select link. Select the value in the grid and click the Assign button.
Post your comment on this topic.