
Capturing contacts can be a laborious and time-consuming activity. It relies upon individual users manually entering contacts or using the CE:Sales Outlook plugin to help). Either way, it still relies on the user deciding whether the person is a contact that should be stored in the CRM system or not (and therefore shared with the rest of the organisation) and having made that decision, entering the relevant details.
evergreen sales Contacts
The approach of the evergreen sales Contact feature is to monitor incoming emails in the background, identify emails from new contacts and create a new potential contact record for its recipient to review before confirming it as an actual contact. A regularly run background process extracts the signature block from an email, saves it and then uses Azure Cognitive Search Services to identify the contact’s details (i.e. name, company phone numbers etc) and save them as a new “potential contact” or one which is different to an existing contact (i.e. one referencing the same email address).
There are several configuration settings that help make the process more effective:
- Blocked email addresses
- Blocked domains
- Recognised valedictions
- Recognised job titles
Step 1: Go to the evergreen sales contact App
Step 2: View Potential Contacts
This screen shows all potential contacts that have been imported using Contact Capture but have not been converted yet, regardless of the person to whom they have been sent.

Step 3: Convert a potential contact
The user has two choices:
- Direct conversion
- The contact editing app
Direct conversion
If the details of the potential contact are correct or nearly correct, you can simply select it (or them) and click the “Convert to contact” link in the ribbon:

Then click the “convert to contact” link in the top menu (there will be a couple of confirmation dialogues to click through). The conversion will take place in the background.
Contact editing App
The contact editing app allows a contact to be edited and, where it’s an existing contact, compared with existing information held about them. The app works in three stages:
Screen 1 – the captured information
This screen displays the information that has been identified by the scraping process and the contents of the actual signature block

Screen 2 – comparing data
This screen compares the information retrieved from the potential contact record with the current contact record (where one exists). The ticks on the screen indicate which values will be displayed on the next screen.

Screen 3 – editing the potential contact
This is a simple editing screen in which any data value can be changed. The screenshot below highlights the fields that have been changed

Once editing has been completed, press the Save button to save the changes and create a new contact (or, if it already exists, update with the new information).
Step 4 – View converted contact
Once a potential contact has been converted, it will disappear from the Potential Contact list. TO view the contact, do one of two things:
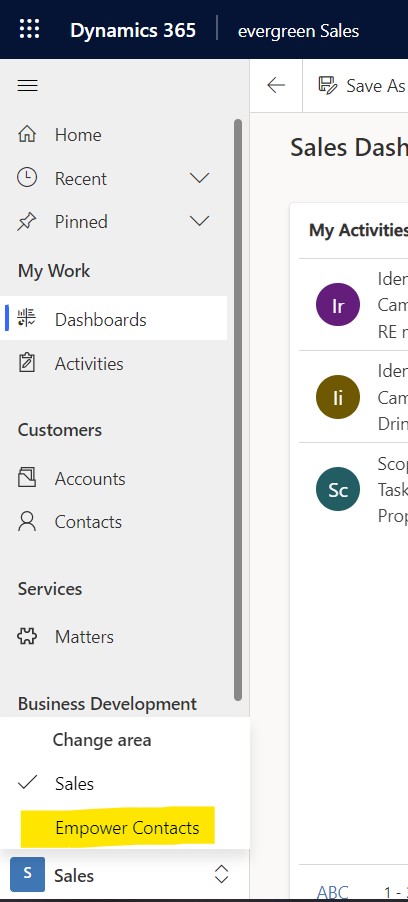
- Select “Contacts” from the Empower Contacts area menu
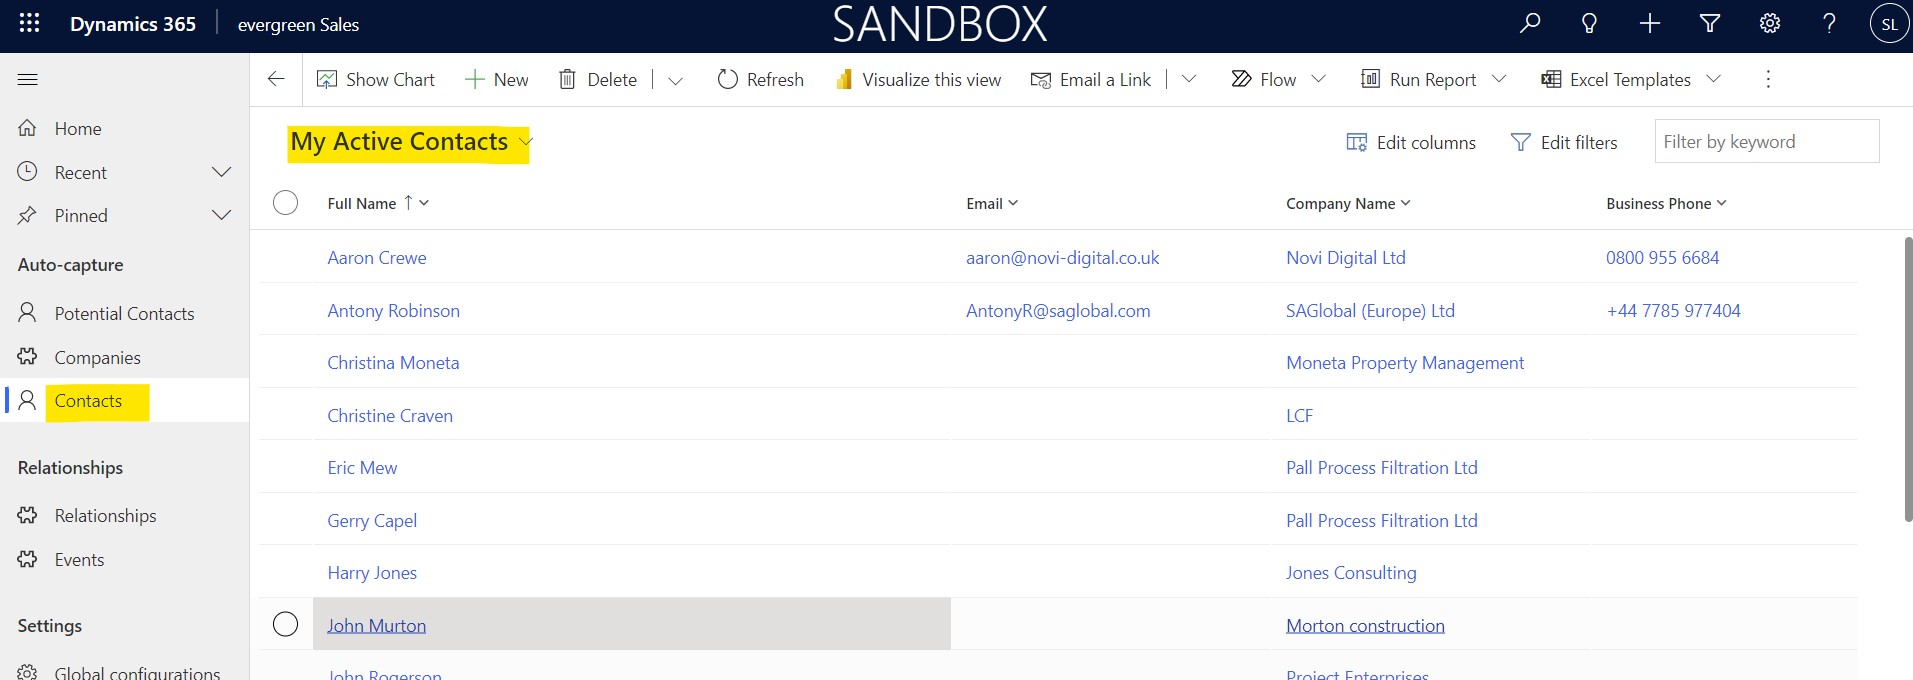
- Select “Contacts” from the Sales menu
Doing either will display a list of contacts “owned” by you:
Having selected one, the details can then be viewed:

Post your comment on this topic.