
EPC’s simulation tool uses the BPMN 2.0 notation model (from your mapped processes) and your desired scenarios to be able to run a simulation. In your scenarios, you will need to determine:
- The total number of process instances and the % to leave out of statistics for warming up and cooling down periods,
- Your resource information, such as the number available, their hourly cost, their timetable, etc.,
- Duration of tasks and their costs, etc.
If your business process is mapped in EPC and the Analysis is already done, the available data will be automatically populated in the simulator. In the sections below, we’ll explain the data you’ll need to define your scenario.
Step One: Set Up Your Scenario
Process Simulation Specification
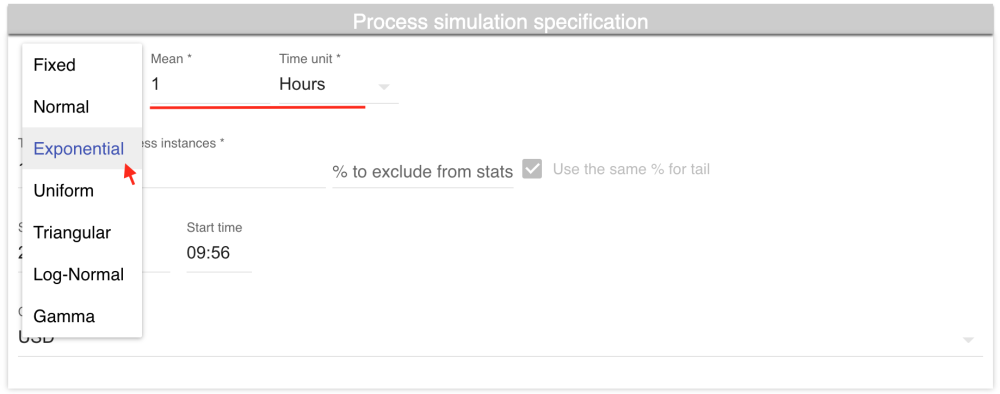
Internal Arrival Time
The internal arrival time is the interval at which processes occur. If we were to choose an exponential arrival time and set it to 1 hour, that would mean a new instance is started every hour.
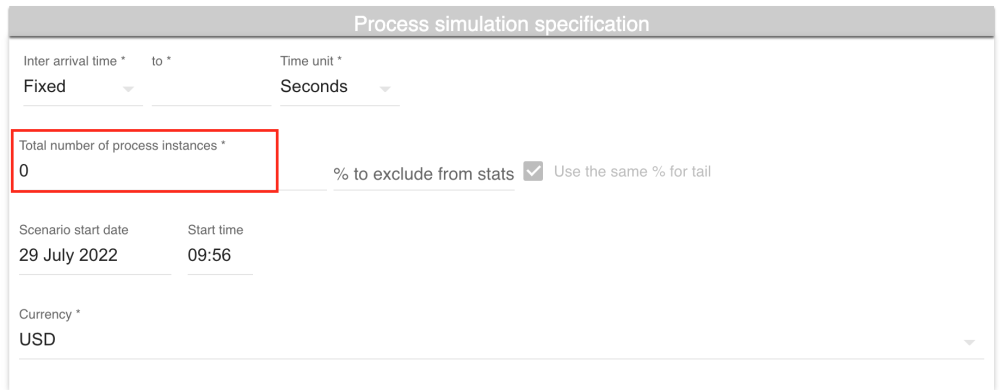
Total Number of Process Instances
The total number of process instances is a required field, which will be the number of times the process will be executed in the simulation scenario. The number of instances are unlimited.
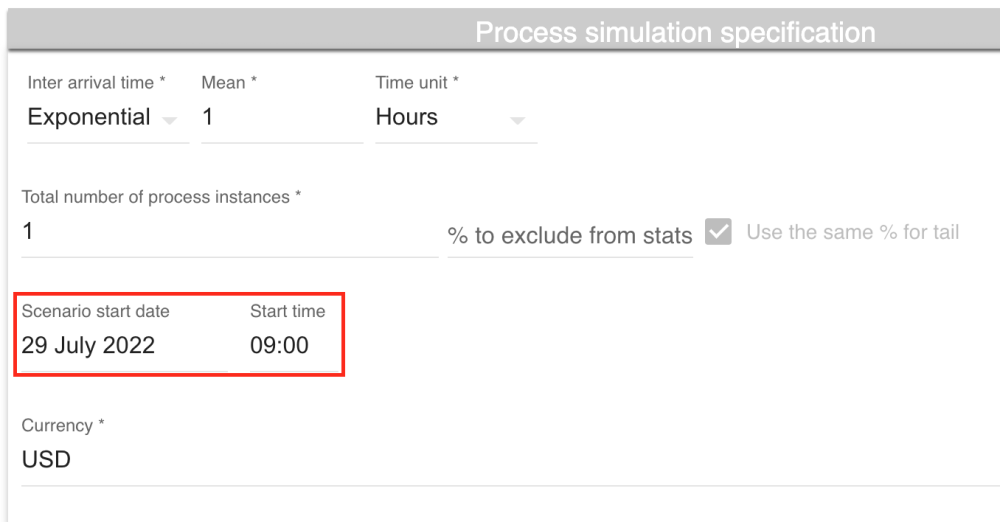
Scenario Start Date and Time
The date to which this instance will start
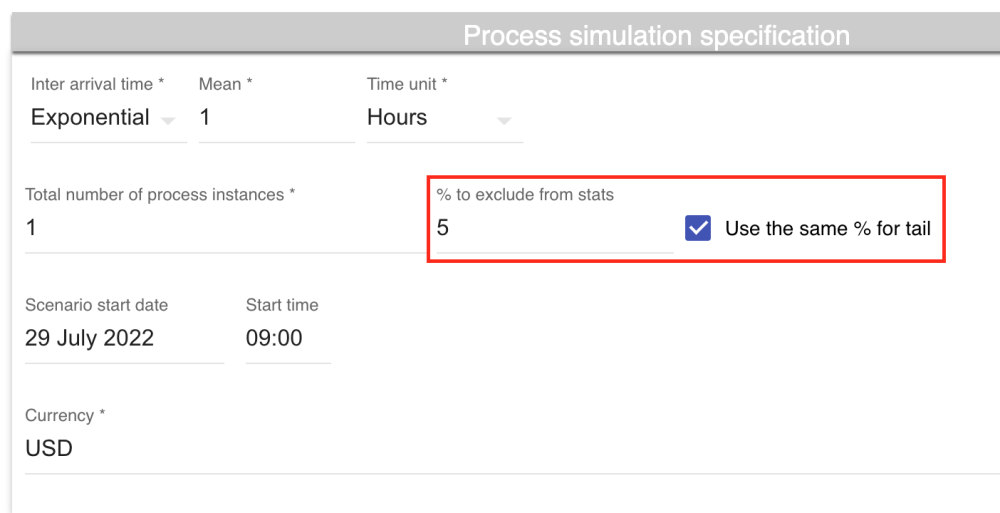
Warm-up and Cool-down Periods
This is the percentage to leave out of statistics for warming up and cooling down periods at the start and the end of the scenario. If you check the box next to it, then the same percentage of process performance stats will be excluded at the end of the scenario.
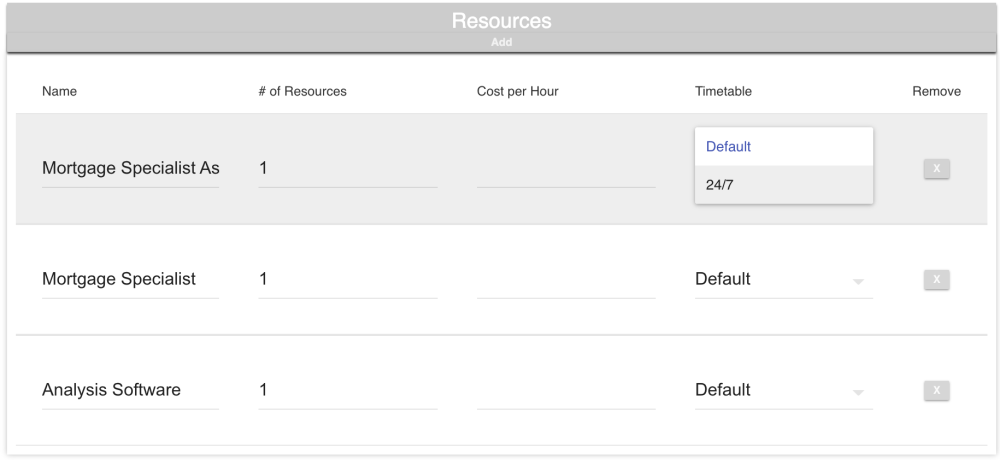
Resources
This features are all the roles already assigned in your EPC process graph. You can inline edit the name, choose the number of each resource available, their cost per hour (optional) and their timetable, either default or 24/7. We’ll talk about the timetable in the next section.
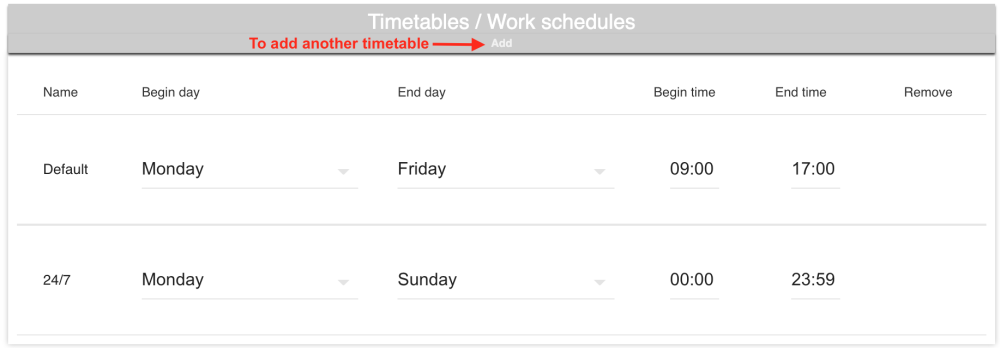
Timetables / Work Schedules
This defines the work schedule of the resources. They can be:
- Default: this is the default timetable for the resources, from Monday to Friday 9am to 5pm. You customize this one with employees’ schedules,
- 24/7: as stated, this is for the resources that can operate 24/7. This can be for assets or for factories that have employees who work in the day and other in the night,
- You can add another timetable to suit different employee schedules.
Step Two: Set Up Your Flow Object’s Parameters
Tasks
The tasks are separated and are shows in sequential order. This defines the duration, fixed cost, and any cost threshold which may apply to individual tasks.
- Resource: identified by role; e.g, Mortgage Specialist
- Duration: of each task and event; it supports uniform, normal, exponential, triangular, gamma, log-normal and complex combined distribution for the duration.
- Fixed cost and Thresholds: for cost and duration of each task
- Time unit: select seconds, minutes, hours or days from dropdown filed
For sub-processes, you can choose to simulate them as non-sub-process tasks instead of starting another sub-process in your simulation.
Intermediate and Boundary Events
You can only set the duration of an intermediate or boundary event, to establish how much time this event will take or when it will be prompted.

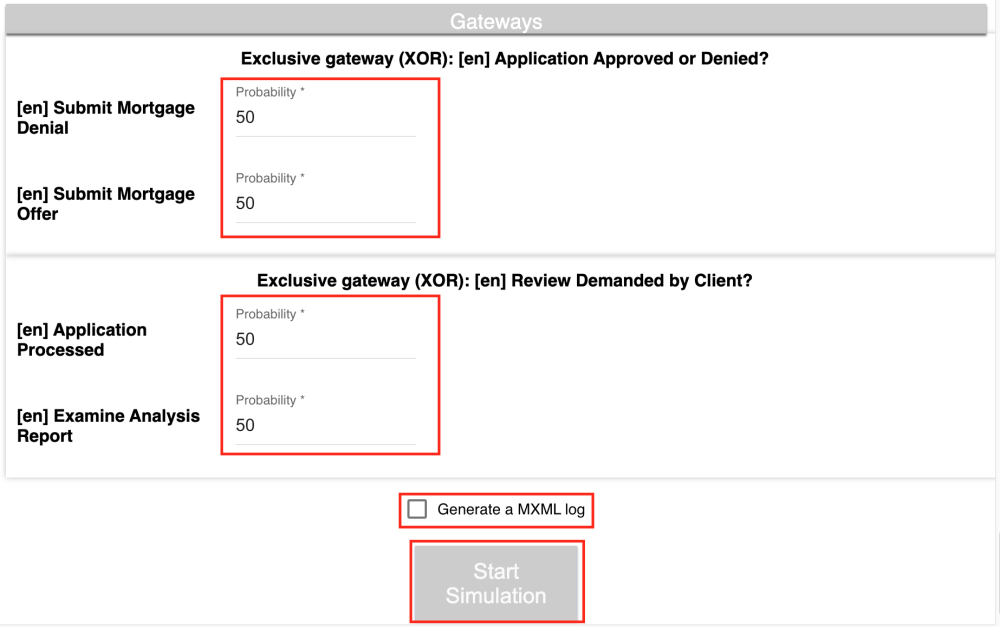
Gateways
Use to define the probability of occurrence for the decision in your process.
- Branch probabilities for each a conditional branch in your model,
- Generate an MXML log,
- Click the start simulation button to simulate the process and analyse the result
Step Three: Trigger the Simulation Process
Once the user clicks on the start simulation button, they can review a report which includes the following:
- Resource utilization: see average utilization percentage of each resource in the simulation scenario
- Cycle times (process duration): the simulator will output the total cycle time of the scenario
- Individual task/element statistics about cost, duration, waiting time and thresholds
- Visual heat-maps of the business process model based on waiting times, counts, costs and duration
For more information about the simulation results, please click here.
Haben Sie noch weitere Fragen?
Visit the Support Portal