For those unfamiliar with using the date/time picker in the DBP web application, the following instructions will guide you through the process:
- Date/Time
If Date/Time is selected as a display type, the date/time picker will display a calendar with time input options.

Users can enter a date and time into this field either manually or by selecting it from the calendar.
- Instructions
- To display the calendar, click on the
![]() icon.
icon.
![]()
- To view all the months in the year, click on the month.
- To view the previous or next year’s months, use the side arrows to navigate.
![]()
- To view the previous or next year’s months, use the side arrows to navigate.
- To view the current set of ten years, click on the year.
- To view the previous or next decade, use the side arrows to navigate.
![]()
- To view the previous or next decade, use the side arrows to navigate.
- To view the decades of the current century, click on the decade
- To view the decades of the previous or next century, use the side arrows to navigate.
![]()
- To view the decades of the previous or next century, use the side arrows to navigate.
- To select the time, use the numeric updown field.
- In this field, users can enter numbers either manually or by clicking the increment/decrement arrows.
![]()
- In this field, users can enter numbers either manually or by clicking the increment/decrement arrows.
- To view all the months in the year, click on the month.


Once selected, the date and time will populate the field in the following manner:

- Date
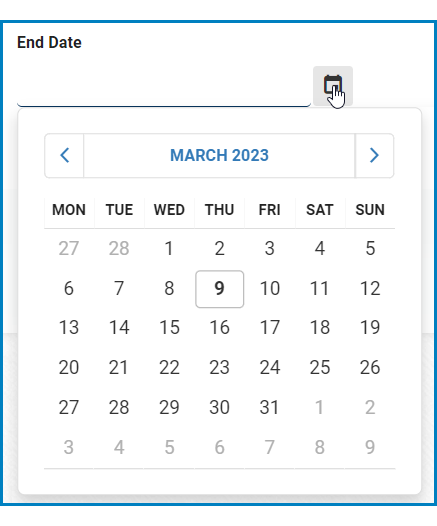
If Date is selected as the display type, the date picker will display a calendar allowing the user to select a single date.

Users can enter a date into this field either manually or by selecting it from the calendar.
- Instructions
- To display the calendar, click on the
![]() icon.
icon.
![]()
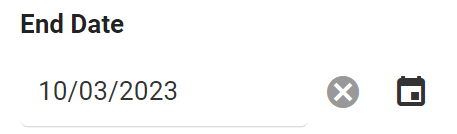
Once selected, the date will populate the field in the following manner:
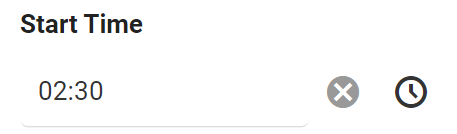
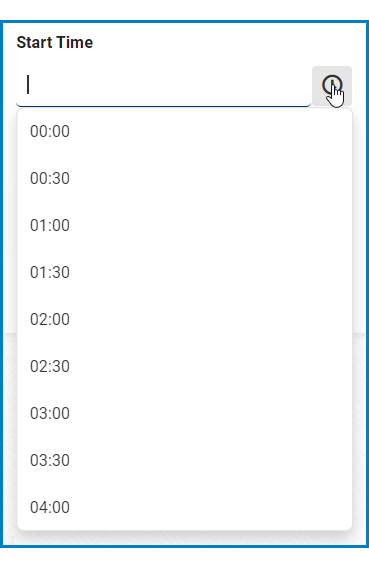
- Time
If Time is selected as the display type, the time picker will display a list of pre-defined times for the user to select from.
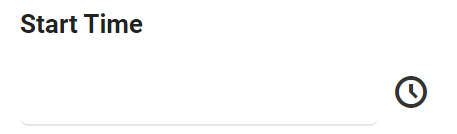
Users can enter a time into this field either manually or by selecting it from the list.
- Instructions
- To display the list, click on the
![]() icon.
icon.
![]()
Once selected, the time will populate the field in the following manner: