
Timelines, called Composite Shots in VEGAS Effects are where you’ll make most of your project decisions. Timelines represent your video sequences, with time running from left to right.
Switching between timelines is as easy as changing tabs in your web browser, making for a fast, efficient workflow.
Timelines are layer based, and allow you to create layered visual effects and motion graphics in 2D or a fully 3D environment. Each layer contains a single asset which can be highly customized, enabling you to carry out sophisticated compositing tasks.
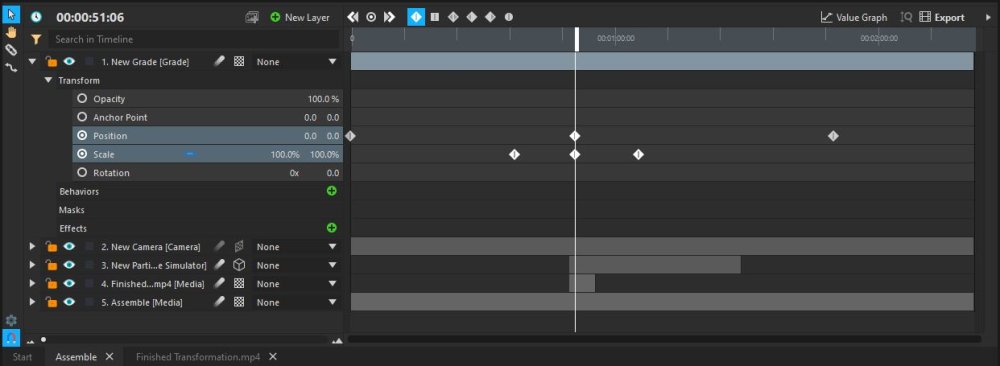
Layers can be expanded to display more information. The left side of the timeline shows the names of the layers and properties, while the right side shows the position of layers in time. Keyframes are used to change properties over time.
Composite shots can contain large numbers of layers, each of which contains many properties. You can use the Search box at the top of the timeline to find specific layers or properties within complex timelines.
See Compositing for full information about using composite shot timelines.
Switching Timelines
The name of each open timeline is displayed on a tab at the bottom of the timeline panel. Switching between the timelines is as simple as clicking on the relevant tab. You can do this at any time. It’s just like switching tabs in your web browser.
As you create more composite shots you will see more tabs along the bottom of the timeline. Composite shots are also listed in the Media panel, making it easier to manage larger projects when you might not want all your timelines open simultaneously. Clicking the X icon on any tab will close that tab. Any composite shot can be re-opened by double-clicking it in the media panel.