
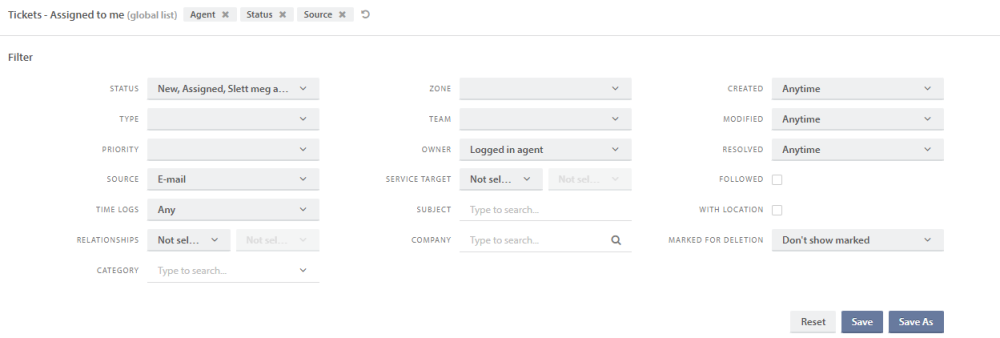
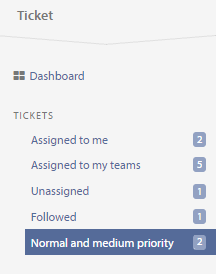
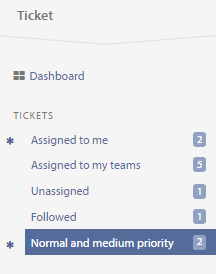
Pureservice comes with a set of predefined ticket lists (assigned to me, assigned to my teams, unassigned and followed). Each list has a default filter applied to its record set. You can create your own custom filters and lists, or temporarily edit the default ones. Click ![]() to open the filter menu. To close the menu, click on the filter button again.
to open the filter menu. To close the menu, click on the filter button again.
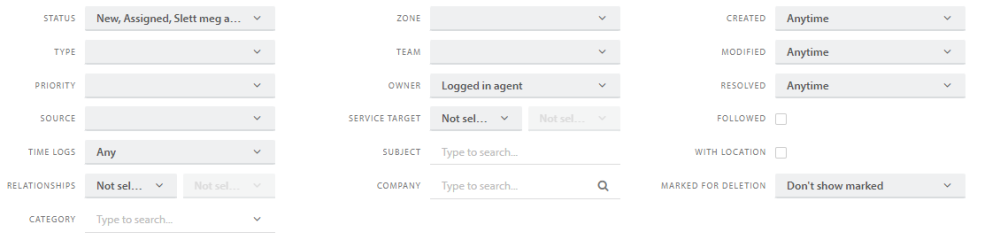
Pureservice lets you filter tickets based on status, type, priority, category, source, time logs, relationships, zone, team, owner, service target, subject, company, created, modified, resolved, followed, with location and marked for deletion.
Edit a default list
Each default list comes with a set of predefined filteres. Simply click on the drop-down lists and select the choices that are best suited for your new list.
Once you have made changes to a default filter, a “Reset” button appears to the left of the “Save” button. Click on the “Reset” button to undo changes (or click the reset-icon ![]() near the top of the page)
near the top of the page)
Changes made to a default filter are only temporary. To save the changes, you have to create a new list.
Create a new list
New lists can only created in list view. To create a custom-made list, select an existing list as a starting point and open the filter menu. Change the filters according to your preferences. Clicking Save as will open a modal window where you can enter a unique list name, and create the list. You can either make changes to the chosen filter before saving it as a list, or edit the list after it has been created. Agents will only be able to create personal lists for themselves, while Administrators also have the option to create global lists, which will be visible for all agents, and team lists, which can only be viewed by the team members. An administrator has to be a member of a team in a zone, in order to create team lists within the same zone.
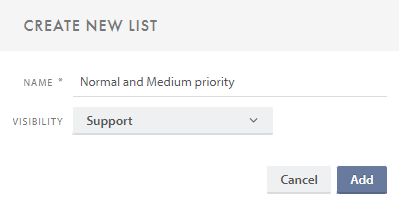
Click on “Add” to create the list.
Edit and delete an existing list
It is possible to edit both the filter values of a list and its name. You can also delete a list.
An agent can only edit or delete their personal list, while Administrators can do so with any public list
When you hover over a list, two new icons (a pencil and a cross) appear to the right of its name.
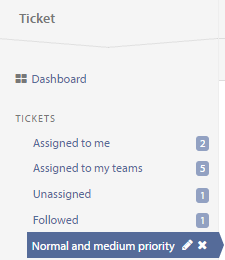
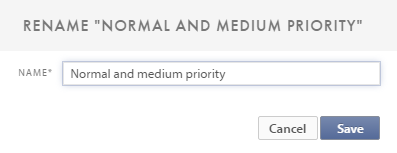
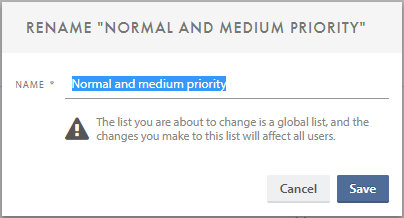
To edit the list name, click on the pencil. Doing so will open a modal window, where you can rename the list.
If the list is shared, you will see a warning that the change will affect all user.
To delete a list, click on the cross. You will have to confirm your choice in order to delete the chosen list.
If the list is personal you will see this warning message.
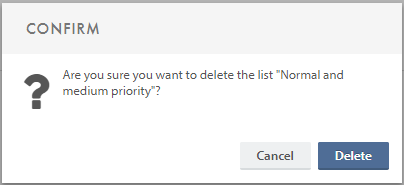
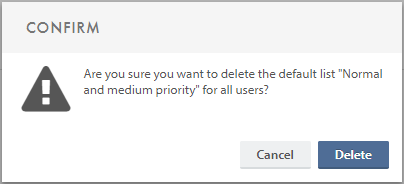
When trying to delete a shared list, you will see this message instead, warning you that the list will be deleted for all users.
In order to make changes to filter values, simply click on the custom-made list you want to edit. Make sure that the filter menu is open. Once you have made changes to the filter, you can choose to reset it, save and overwrite the existing list or save as a new list.
Unsaved changes
Changes made to a filter, belonging to either a default or a personal list, are stored in your browsers local storage until you save them. A star is displayed next to the list to indicate that the list has unsaved changes.
Need more help with this?
Ta kontakt med oss for videre spørsmål her!