
INSTALLATION OF SCREEN:
STEP 1
1.1 Remove all cables that are connected to the display. The cable that arrives from the remote station will be replaced by the cable with a connection to the TCU on one end.
STEP 2
2.1 From the back, remove the nuts from the outer frame.

2.2 Remove the screws from the back frame (2 star screws). Remove all electronics, leaving only the frame.

2.3 Remove the nuts from the power board, minipc, and ground connection. Loosen the cables connected to the screen.

2.4 Disconnect the cables from the boards.

STEP 3
3.1 Remove the 8 spacers and the back plate. The screen power supply can be removed from the back plate (optional).

3.2 Remove the nuts from the plate and remove the plate.

3.3 Remove the plate, it will be reused later. Remove the 4 spacers from the TFT screen.

3.4 Remove the TFT screen.

STEP 4
4.1 Carefully lift the glass using a cutter, inserting it between the glass and the frame.

4.2 After removing the glass, use the provided glass scraper from the kit to remove any residue from the adhesive tape on the frame. Use acetone or solvent along with the metal spatula to remove any difficult residue.

4.3 Remove the protective tape from the glass. Pay attention to centering the glass in the frame.

4.4 At this point, it is very important to clean the inside of the glass thoroughly, as once the TFT screen is installed, it will no longer be accessible.

STEP 5
5.1 Insert the frame marked with a central notch from the outside. Then add the TFT panel, which should be centered and fitted to the frame.

5.2 Place the frame marked with two central notches on the outside, in the same position as the first frame. Place the 4 spacers included in the kit on the MPD bolts.

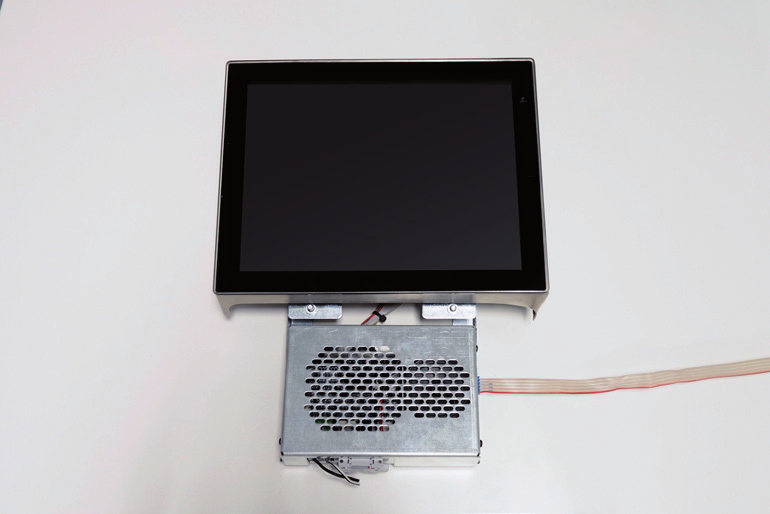
5.3 Mount the video controller on the bracket. Use the 4 flat screws provided in the kit. Connect the LVDS cable to the controller as shown in the attached image.

5.4 Connect the LVDS cable to the TFT screen, inserting it through the inside of the screen.

STEP 6
6.1 Mount the screen plate by passing the TFT cable through the side slot, which will be on the right side.

6.2 Place the screen plate by passing the TFT cable through the side slot, which will be on the right side. Place the 4 long spacers removed previously from the plate and place them on the longer studs. Screw the plate to the frame.

6.3 Place the TFT controller on the plate, matching the holes on the standoffs. The HDMI connector should face downwards, and the display cable should be passed over the female standoff on the right side.

6.4 Screw the large plate to the MPD frame.

6.5 Mount the screen bracket by screwing it onto the TFT screen plate.

6.6 Install the stand on the button panel by first placing its upper screws and then adjusting the lower ones.

6.7 Connect the cables from the TCU located on the cabin ceiling to the TFT controller:
 |
· HDMI cable. · 12VDC Power Cable (Out) |
Connection guides to the maneuver for the TCU:
Copyright © 2025 Nayar Systems
—
Powered by 