
Using the included simple screen setups
If all that is needed is a view of 16×9 screens there are a few basic visualizer files to quickly get up and running.
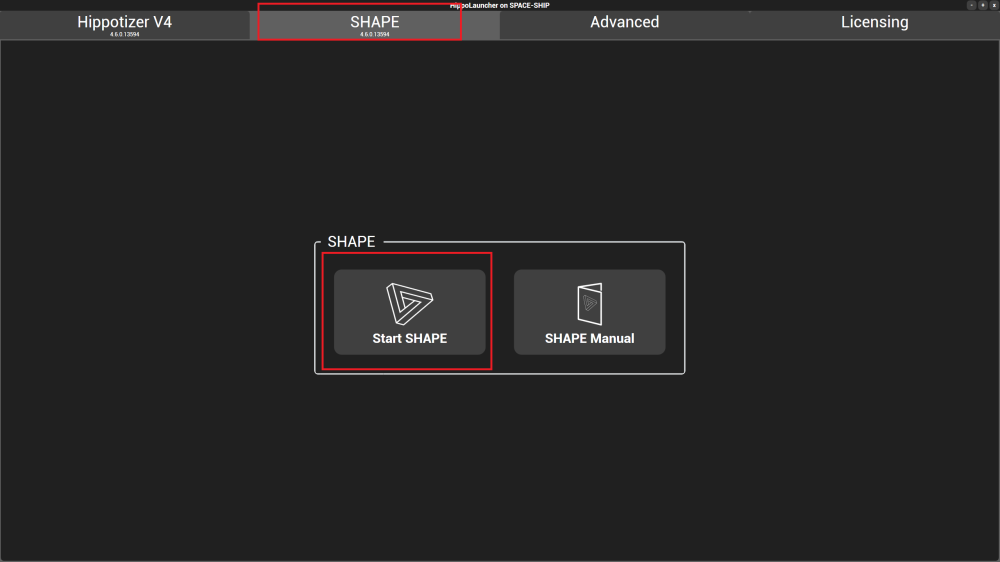
Simply click the Shape tab from the Zookeeper home Screen.
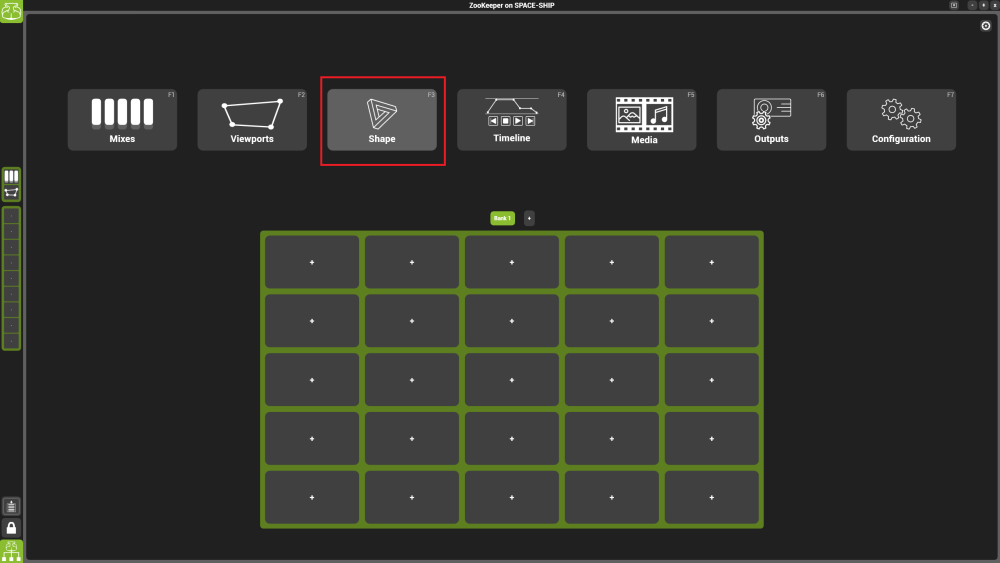
Click the Open Project button, choose the desired amount of screens, and select open. Hippo includes 1-6 screen configurations by default.
These projects can be located in the Documents\GreenHippo\Shape\Default Projects folder, if the user has navigated away from the default folder.
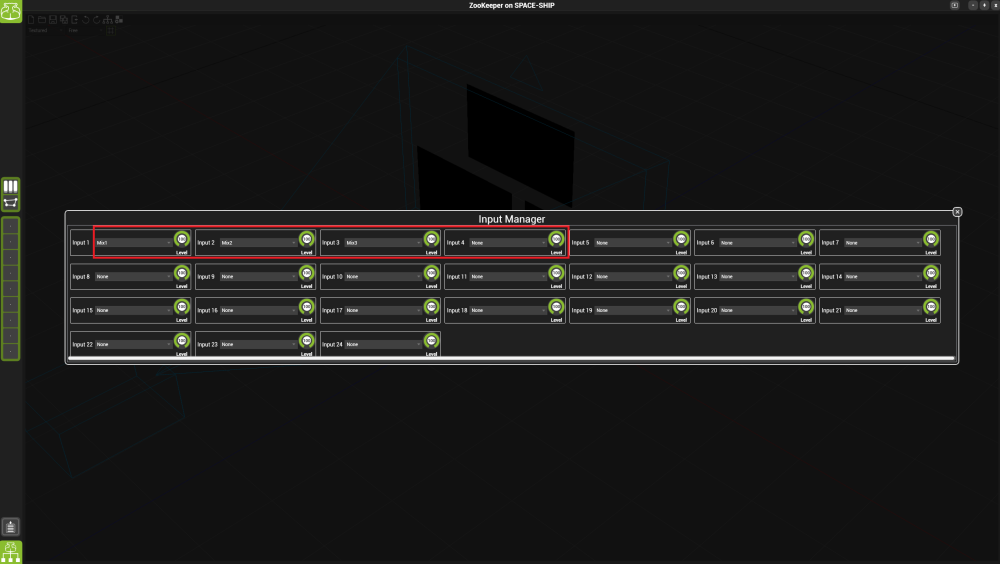
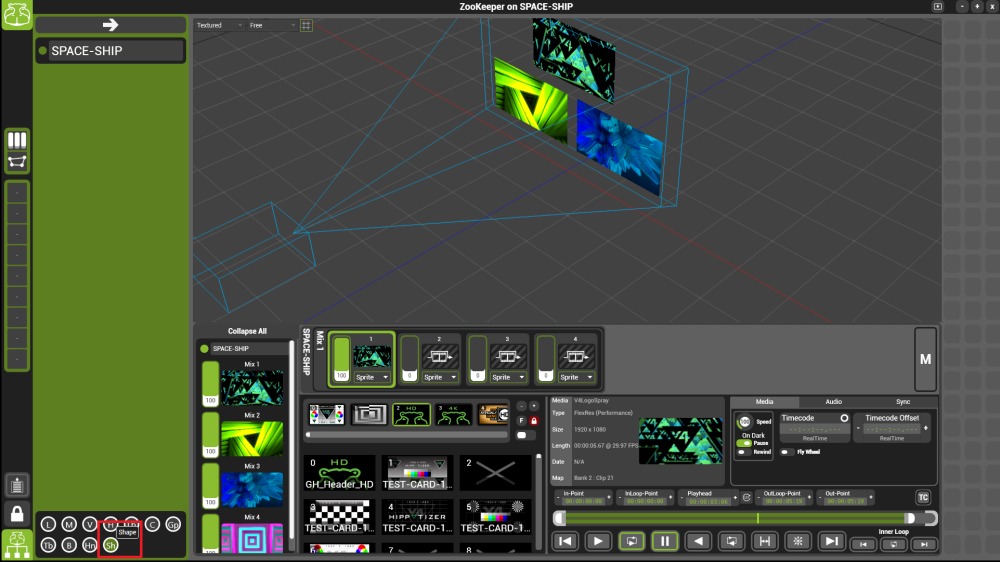
Next assign the inputs for each screen by going to the Input Manager and selecting the desired source for each Hippotizer Input.
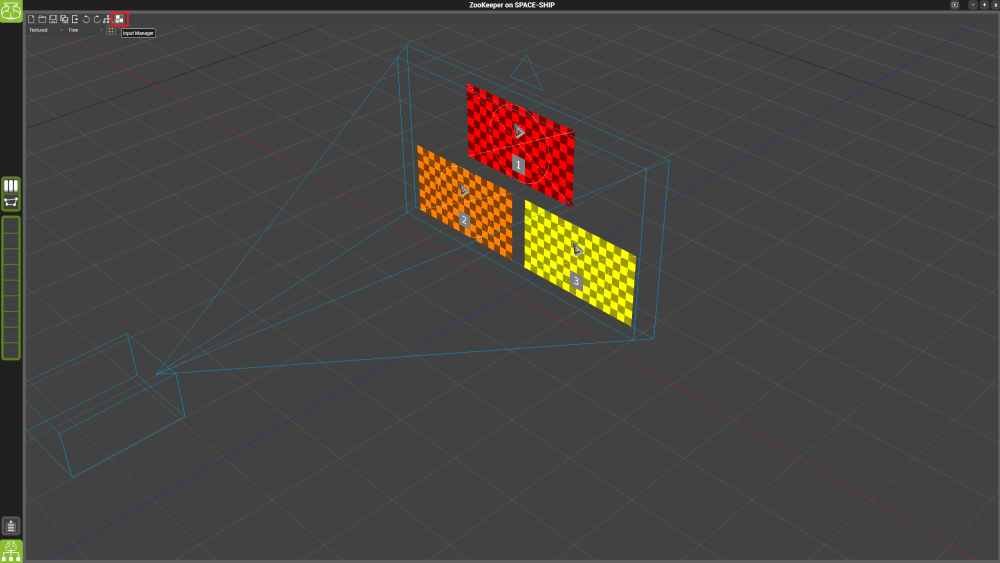
Now all of the assigned Mixes/Viewports should be seen on the correct screens.
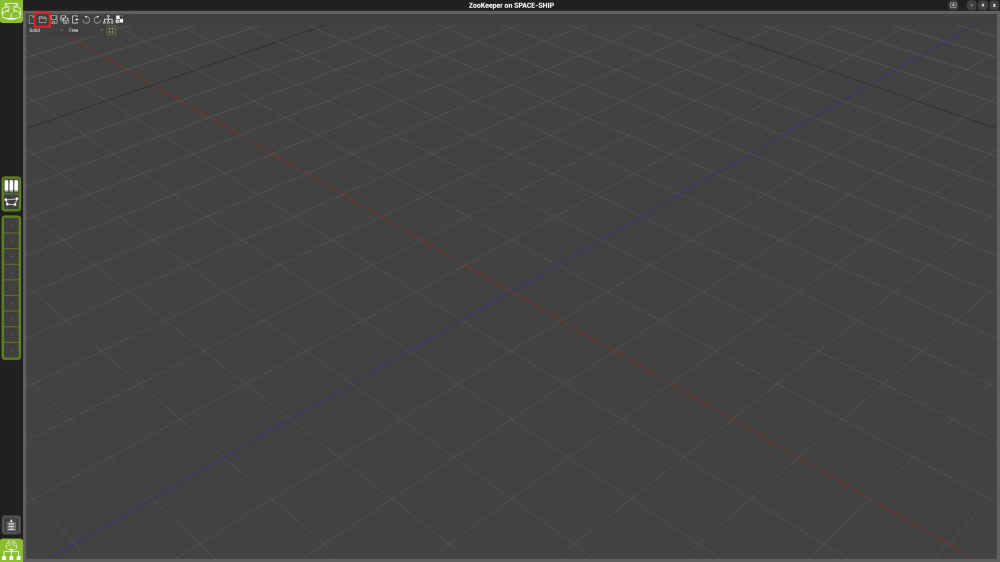
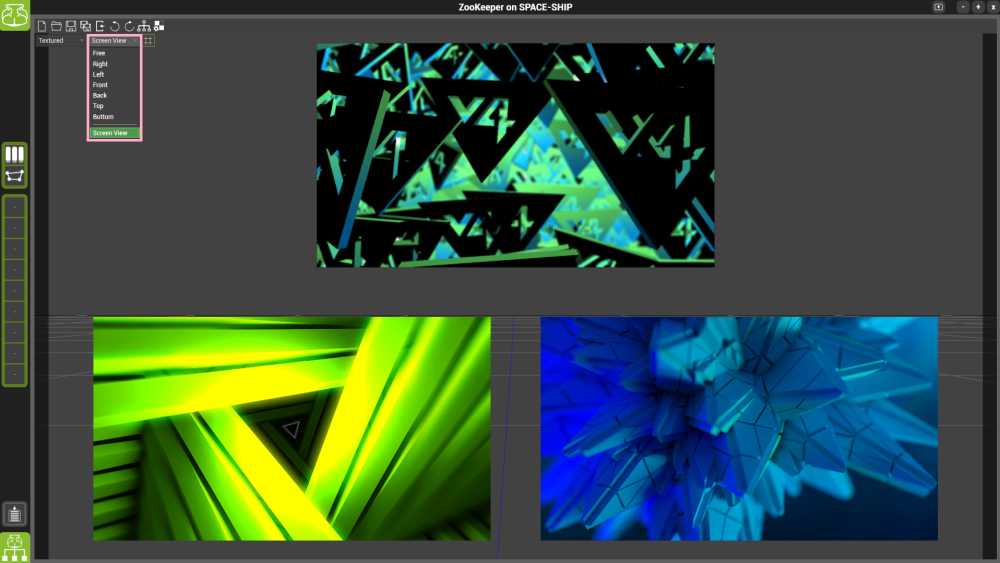
To freely navigate around the Visualizer use the 1, 2, or 3 key while clicking and moving the mouse. Holding 1 will pan the camera, 2 will zoom, and 3 will orbit the camera.
There are also orthographic views and projector views located in the View field. There is a projector in each default project for easy selection which is labeled “Screen View”.
Using other model files
If other models are required for visualizing, some extra setup is required in the SHAPE standalone app. There are some default models included with the installer that can be found in Documents\Green Hippo\Shape\Default Models.
Start Shape from the Shape tab in HippoLauncher
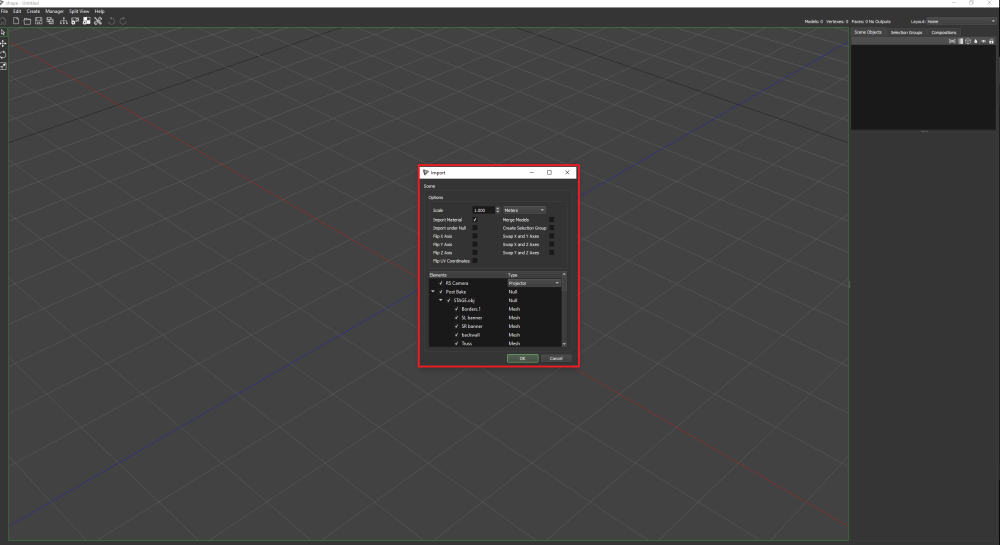
Import the model by going to File->Import, navigate to where the file is located on the machine and select open.
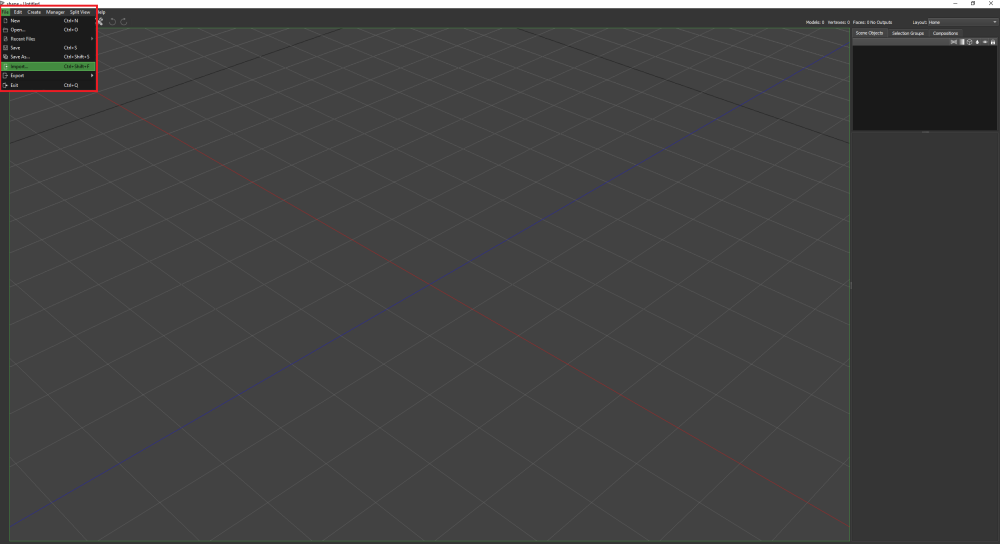
When importing a model be sure to double check that the correct scale and units are selected, as well as double checking the objects which should be imported are selected from the list.
There is also an option for importing materials which is useful for automatically assigning textures to objects which will not be a Hippotizer Input.
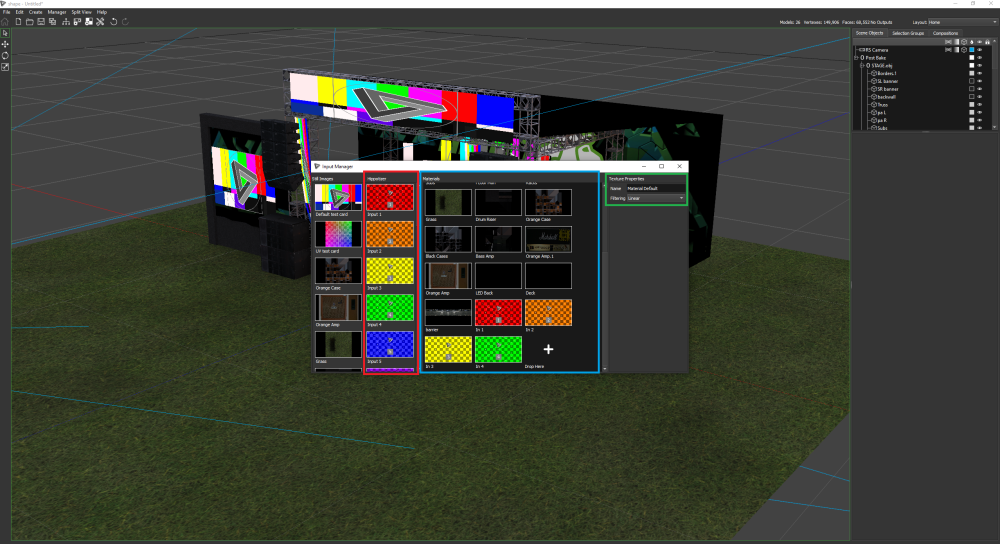
Next set up the Hippotizer inputs by going to the Input Manager.
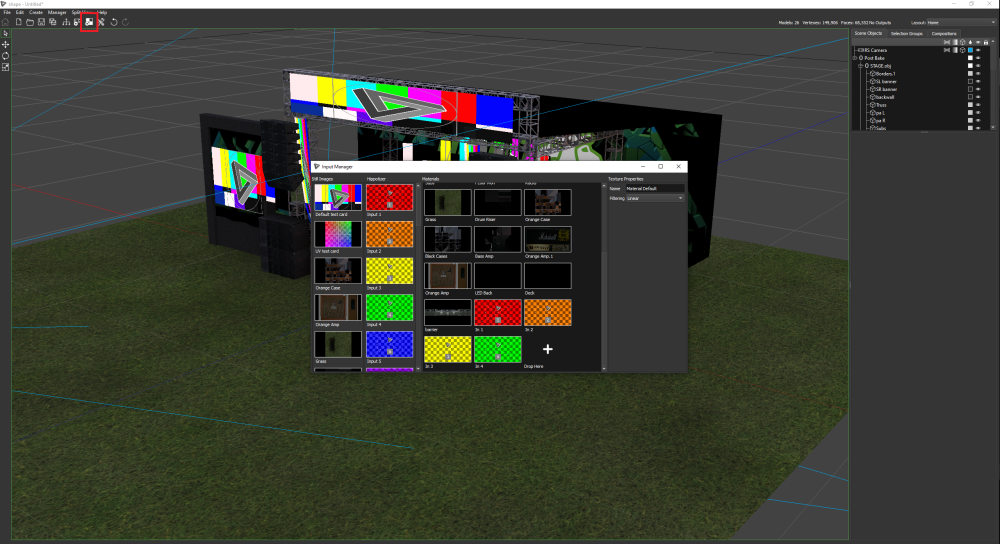
To add the Hippotizer Inputs select them from the list on the left (outlined in red) and drag them into an empty slot in the Materials list (outlined in blue).
Materials can also be renamed using the Texture properties panel on the right (outlined in green).
Close the Input Manager and select one of the screens which will be fed from Hippo. At the bottom of the Properties Panel for this object there is a material selection. Choose the material which is assigned to the correct Hippo input for this screen. Repeat for all desired screens/surfaces.
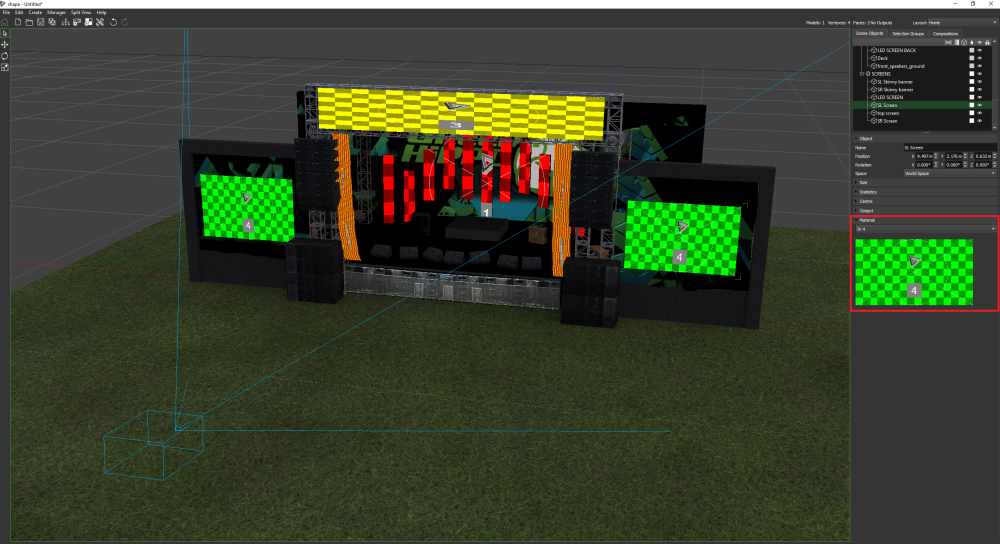
If there are any specific viewing positions desired it is a good idea to also add in a projector now. Place it at the desired location and give it a name for easy reference in Visualizer.
The project is now set up for use in Visualizer. Save the file and refer to the steps for using the included projects to load into Visualizer. Projects can also be patched to the visualizer by enabling networking in the visualizer and adding it to the group from the SHAPE app Network Manager.
Hinterlasse einen Kommentar.