
This section covers the main tasks you perform within the NICE DFO user interface to configure your new messaging channel before you hand over to the mms implementation team.
If you need any assistance with set-up please contact the mms team and we can help you out.
We also have video walkthrough of the set-up:
This task is most efficiently completed by having a browser and the mms BYOC setup table open at the same time, side-by-side.
From within your DFO account, navigate to:
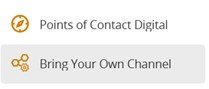
-> ACD
-> Bring Your Own Chanel or go to BYOC Channels
Click on the “Add” button to add a new BYOC Integration channel.
The “Add” action will bring up the following screen.
(Note: Some parts of the screen are omitted for brevity)
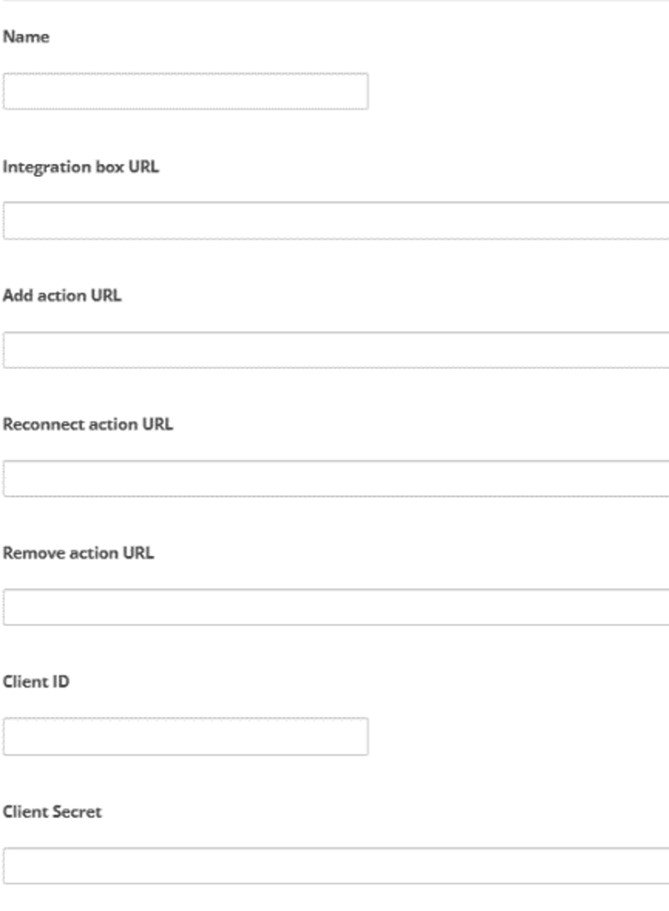
Complete the fields as follows:
1. Name: Enter a descriptive name for the BYOC integration.
(store your BYOC integration name for handover to mms)
2. Integration Box URL: https://byoc2.mms.us/byocintegration/api
3. Add action URL: https://byoc2.mms.us/setupchannel/home/index
4. Reconnection action URL: https://byoc2.mms.us/setupchannel/home/index
5. Remove action URL: https://byoc2.mms.us/setupchannel/home/index
6. Client ID and Client Secret: retrieve at the mms page and store for handover: https://byoc2.mms.us/setupchannel/MMSKeyGenerationTool (or go to mms Key-Gen tool ) and store it or request from mms
7. Finally, store the Integration ID you receive when completing the form for handover. If you need to retrieve your Integration ID at a later point, you can do so at https://app-de-na1.niceincontact.com/settings/channel-integrations#/
You have now prepared the new channel on the NICE side. The new channel will show up under the DFO section like any other channel available to the account.
Post your comment on this topic.