
Hamburger menu
Each program in the program list has a hamburger menu where the is options to manage a live or on demand program.
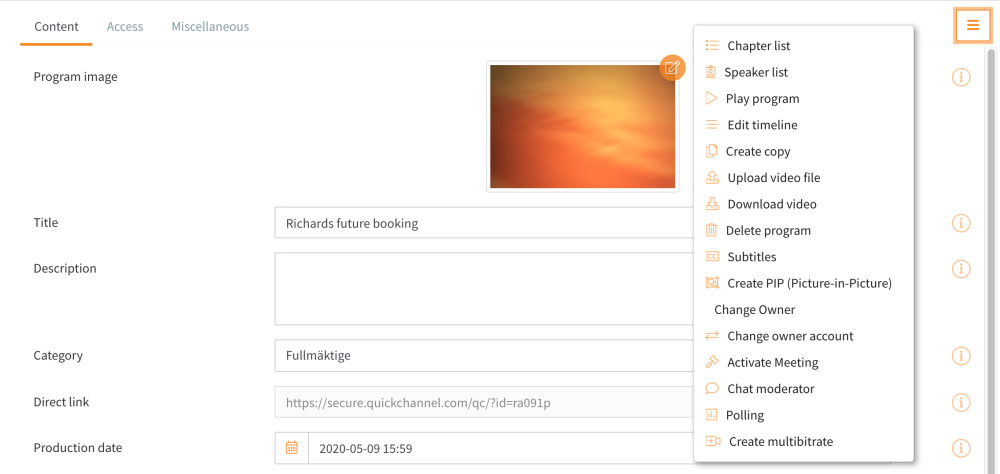
Edit the timeline
Select ‘Edit timeline’ to access Quickchannel’s editing tool.

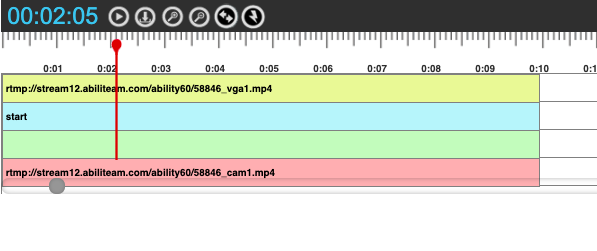
In the timeline there are four rows. The first one at the top is the presentation. The second one is chapter and chat messages. The third is speaker. The fourth is the video file.
You can easily move back and forth in the film by interacting with the grey scroll button at the bottom of the timeline. Moving the grey ball forward moves you forward in the film while moving it backward moves you backward.
Edit a chapters name or time by clicking on a chapter and then ‘show information’. The clock in the top right corner shows where the chapter begins.

The same goes for speakers. Click on the speaker to edit name or time.

Instead of deleting a part of the film, there is the option to hide sections of it. Click on a chapter and uncheck the box next to ‘Show this chapter’. The film will then skip the part of the film that is within the scope of that chapter. This is a good way to hide unnecessary material at the beginning of a film such as preparations before a meeting. Then click on the chapter called Start which usually is at the beginning of the timeline and choose to uncheck the Show this chapter box. The film will then start from the next chapter in the series.
To add a new chapter or speaker name, there is the Insert action button

First move the red marker to the time in the film where a new speaker or chapter is supposed to be added. Click insert action and choose either chapter or speaker.


In such a case where dual stream is not used and images need to be uploaded afterwards, select Insert action and Image.
Click on the plus sign to select an image on your computer or drag and drop images from your computer onto the plus sign.

Other buttons on the same row as insert action is In-zoom and Out-zoom.

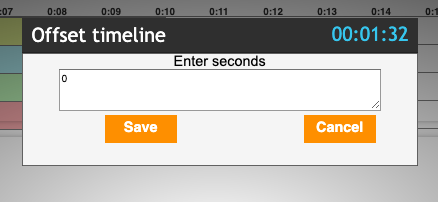
The offset button is used if all the chapter and speakers must be moved forward or backward in the film. Click the button and then write how far back or forward in seconds you want to move the speakers and chapters. After that click save to move all the chapters and speakers.

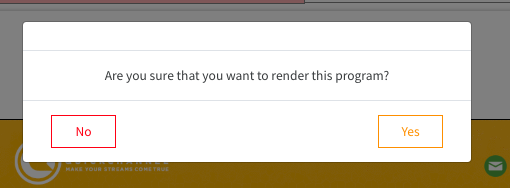
The last button is render. If multiple parts of the film is hidden, a “hard cut” version of the film can be created by rendering it.
Rendering removes any hidden parts and a new program is created.

Copy film
If you wish to publish two versions of a movie, select Create copy.
Download and upload film
From content – New program create a new on demand program. Then go to the hamburger menu and choose ‘Upload video file’ to add your movie.
To download a movie from Quickchannel to your local computer, simply choose ‘Download video’.
Side by side
With ‘Create PIP (Picture-in-picture) a copy of the program is created where the video and presentation is merged and streamed as a single stream.
Multibitrate
Multibitrate allows a movie to be streamed in different qualities. To make it easier for users with limited network capacity, you can create a multibitrate video.
If you are planning a live broadcast where your encoder allows streaming in multiple qualities, this can be activated through the check box under the tab ‘Other’.
Post your comment on this topic.