
The following installation instructions provided for Red Hat Enterprise Linux 7 also apply to Red Hat Enterprise Linux 8, CentOS 7, and CentOS 8.
There are a couple of steps you will need to perform to prepare to install Orchid Fusion VMS.
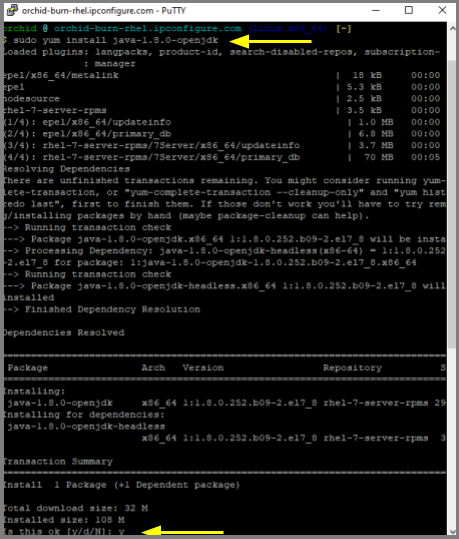
- You will need to install Java 8 before you install Fusion. Type each of the following commands, pressing Enter after each. (The screenshot that follows shows the initial command and the system response.)
sudo yum install java-1.8.0-openjdk
After this command, if the system is upgrading, you may receive a message that requests if you want to continue and use the additional space required. Respond by pressing Y.
sudo update-alternatives --config java
If only one version of Java is present on your server, the last command above will do nothing. If more than one version is present, select Java 8 when prompted by the last command.
Installing Orchid Fusion VMS in RedHat
- To obtain the Orchid Fusion VMS installation package (.rpm file), do either of the following:
- Use a web browser to obtain the file from the IPConfigure web site.
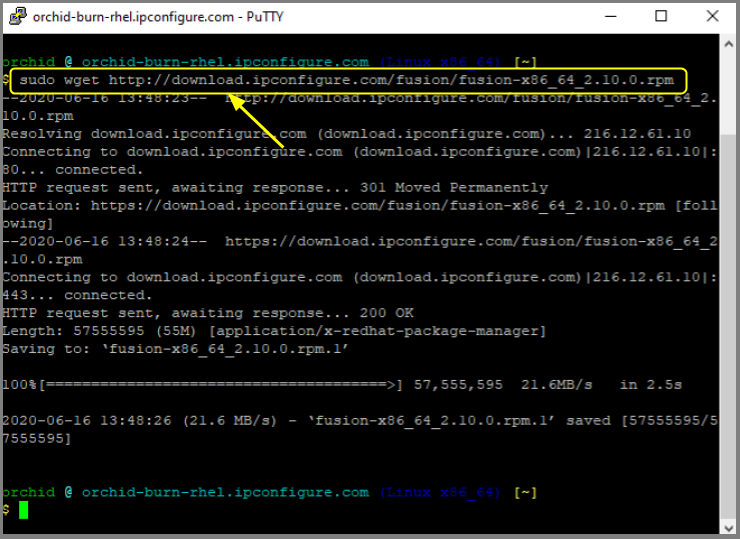
- Type the following command at the Terminal screen:
sudo wget http://download.ipconfigure.com/fusion/fusion-x86_64_VERSION.rpm, where VERSION is the software version number. Then press Enter.
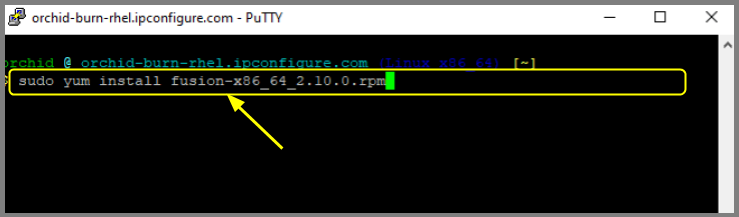
- Install Orchid Fusion VMS by typing the following command:
sudo yum install fusion-x86_64_VERSION.rpm, where VERSION is the software version number. Then press Enter.
- Beginning with Orchid Fusion VMS version 2.10.0, if you are performing an upgrade of your Orchid Fusion VMS, the installer will check the Orchid Core VMS version numbers on each of the registered Orchid Core VMS servers. If any of the registered servers have an Orchid Core VMS version number older than 2.8.0, you will receive a warning message similar to the one pictured here.
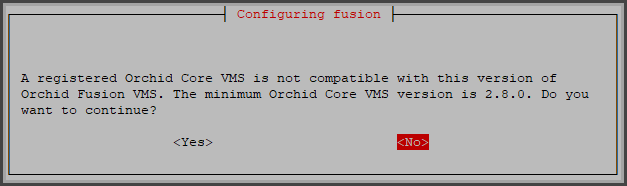
Orchid Fusion VMS Setup will ask if you want to continue with the installation. IPConfigure recommends that you select No, and upgrade any Orchid Core VMS servers that don’t meet the minimum version requirement. When all of your Orchid Core VMS upgrades are complete, return to step 2 to install the new Orchid Fusion VMS.
This will install all necessary files for Orchid Fusion VMS and the Orchid Fusion VMS services. By default, the services will not be started. (For details on working with the services, please refer to the How to Manage the Orchid Fusion VMS Services section.)
- Press the Y key and Enter to accept the EULA, or N to decline.
- After the installation is complete, you must set the admin password in the configuration file. (Refer to the next section for details.)
Post your comment on this topic.