
This section provides a quick walk-through of configuring Azure Active Directory (free tier) (for enabling Azure Active Directory-based authentication in Orchid Fusion VMS). Specifically this section will guide you through the following:
- Creating a free Microsoft Account (if needed)
- Creating an Azure Active Directory user
- Creating an Azure Active Directory group
- Registering an Azure Active Directory app
Microsoft Azure Active Directory Account Setup and Portal Login
- If you do not have a Microsoft account, create a free account here: https://account.microsoft.com/account
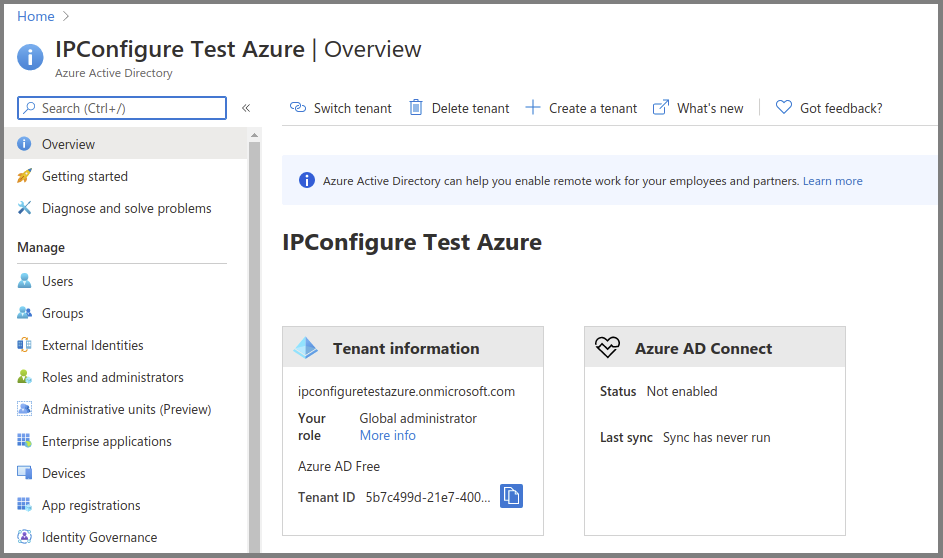
- Log into the Azure Active Directory (free tier) portal using your Microsoft account: https://portal.azure.com/#blade/Microsoft_AAD_IAM/ActiveDirectoryMenuBlade/Overview
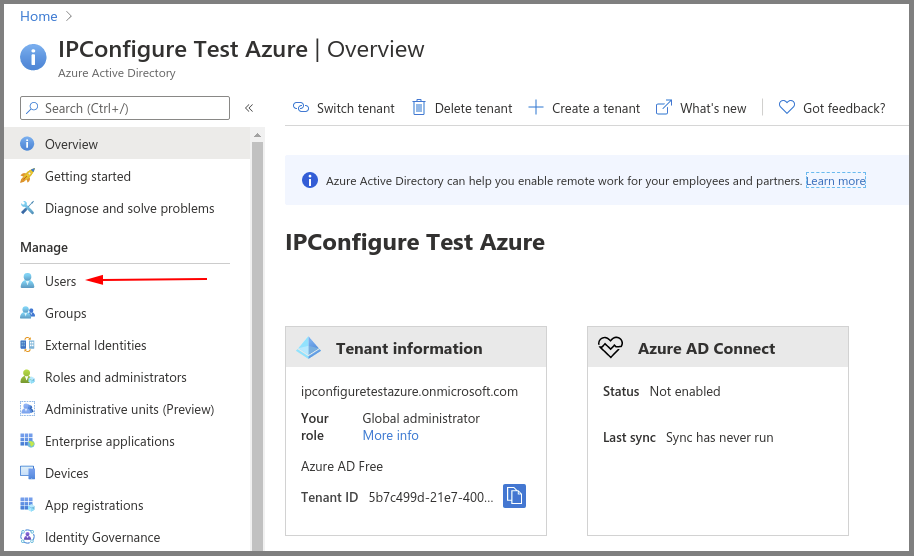
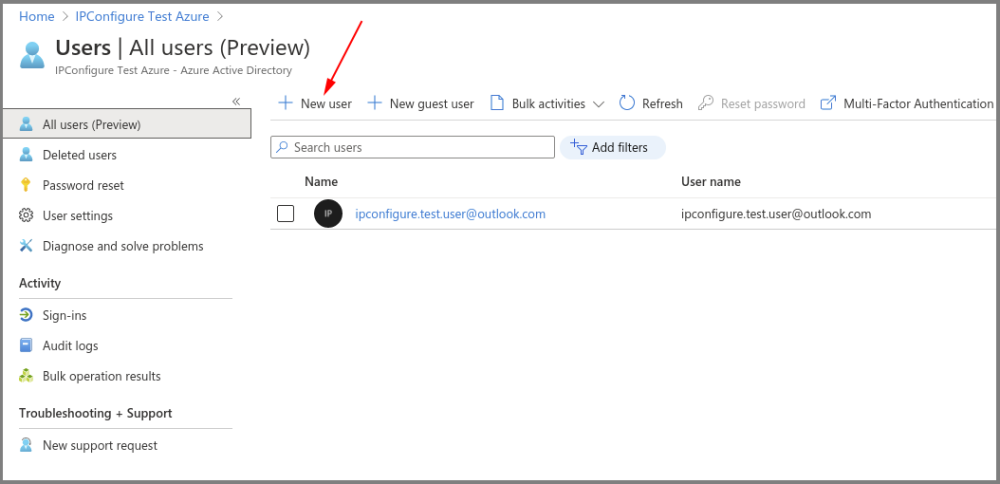
Create an Azure Active Directory User
- Enter a name for the user in the User name field. (This is a short name that you use to sign in, like TJones @ ipconfigure.com.)
- Enter the formal (long) name for the user in the Name field (like Tom Jones).
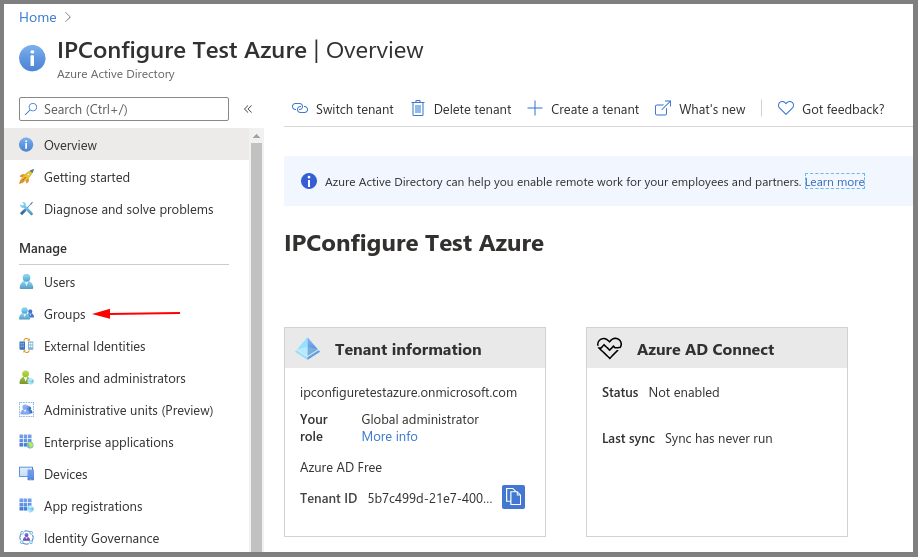
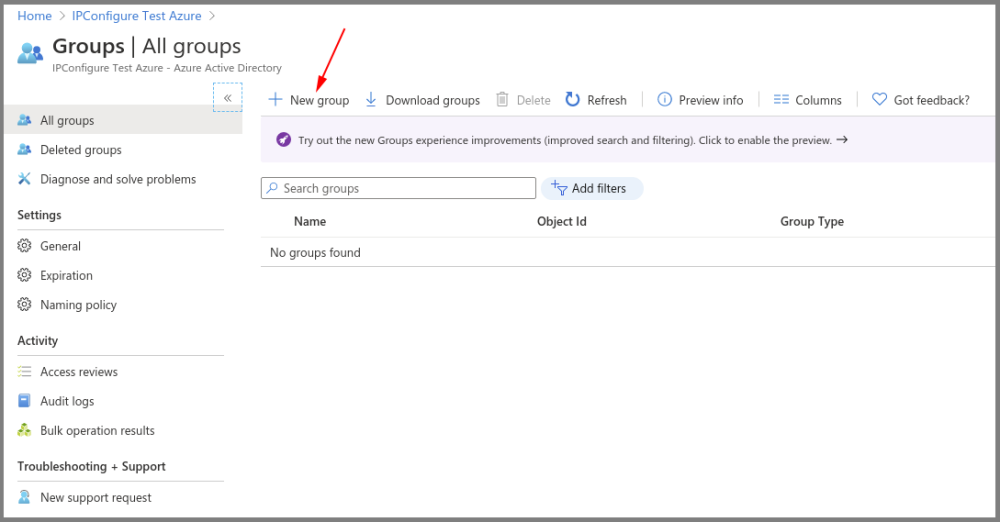
Create an Azure Active Directory Group
- You will need to create at least one Azure Active Directory Group with at least one member.
- Select a type from the Group type drop-down.
- Enter a name for the group in the Group name field.
- Select group members by clicking on the Members link.
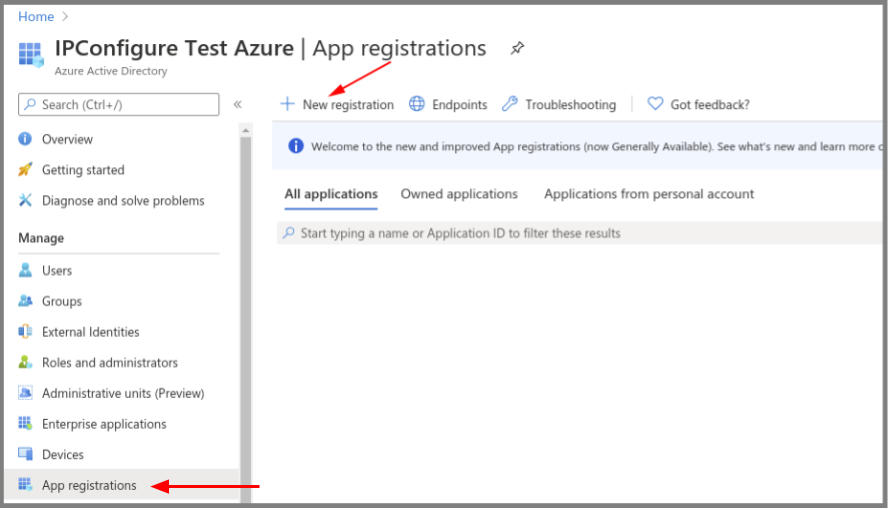
Register an Azure Active Directory App
- To register a New app, be sure to set the following:
- Enter the user-facing display name for this application in the Name field.
- Select the Single Tenant option under Supported Account Types.
- Select the Client Application option under Platform Configuration.
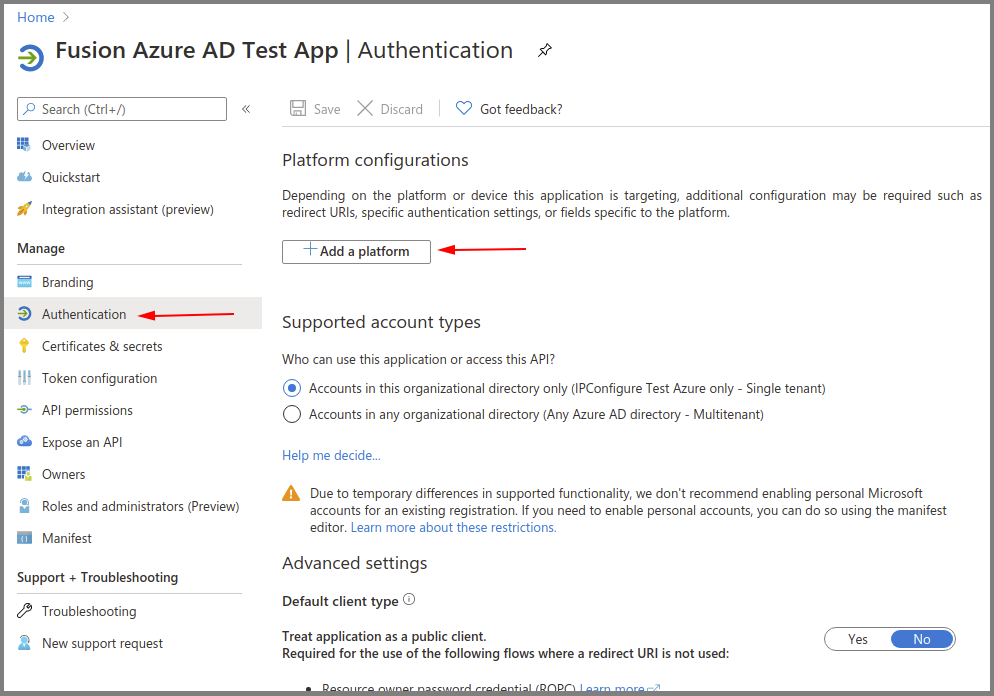
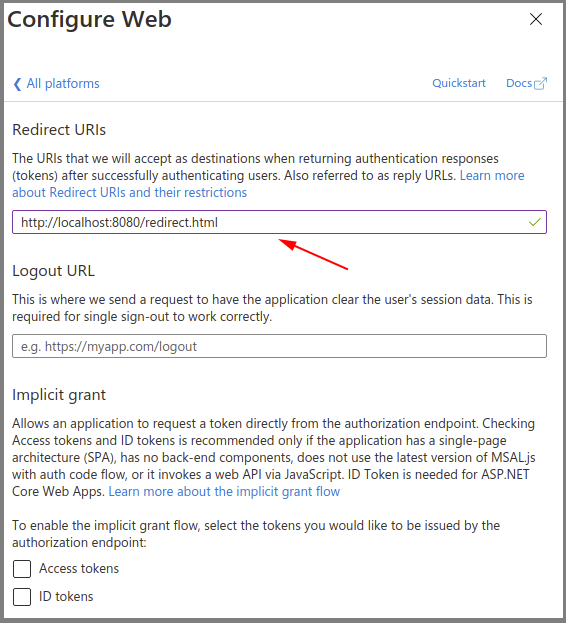
Azure AD App – Authentication – Add a Web Platform
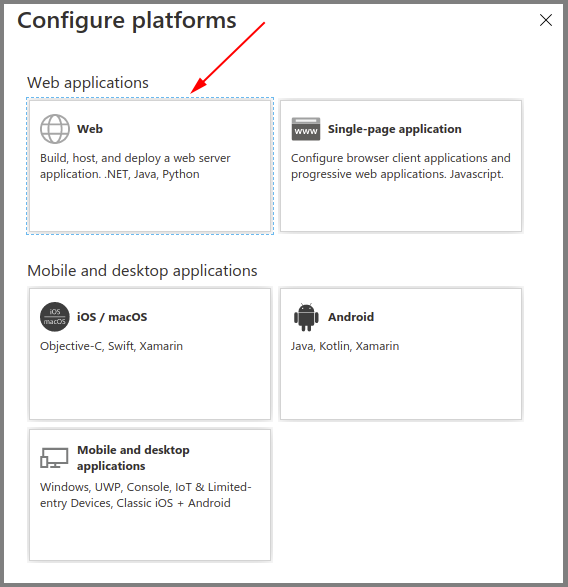
- Go to Authentication, then select Add a platform.
- Select the Web type application.
- Enter the Fusion redirect URL: http(s)://<fusion-url>/redirect.html in the Redirect URIs field (where <fusion-url> is the URL for your Fusion server).
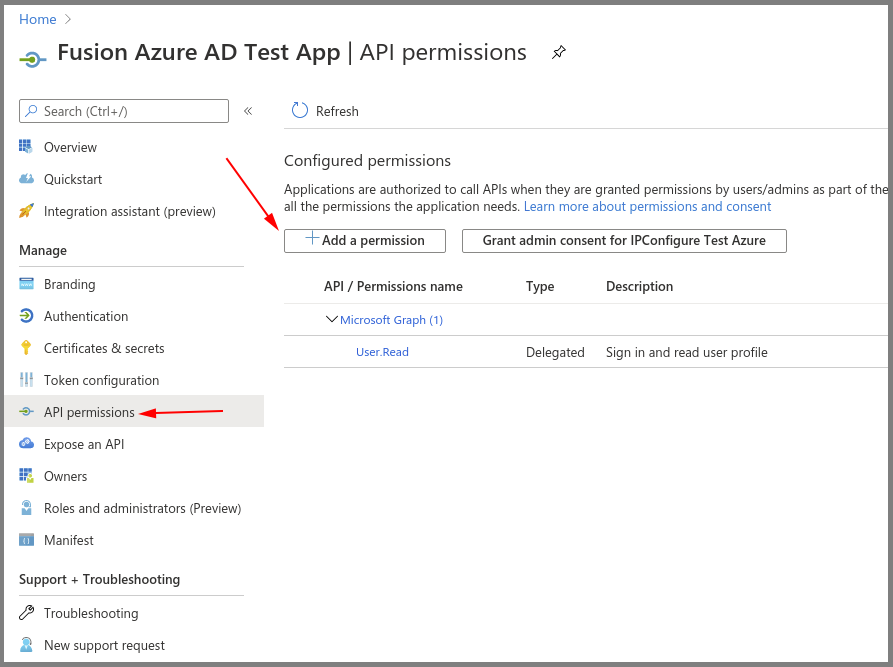
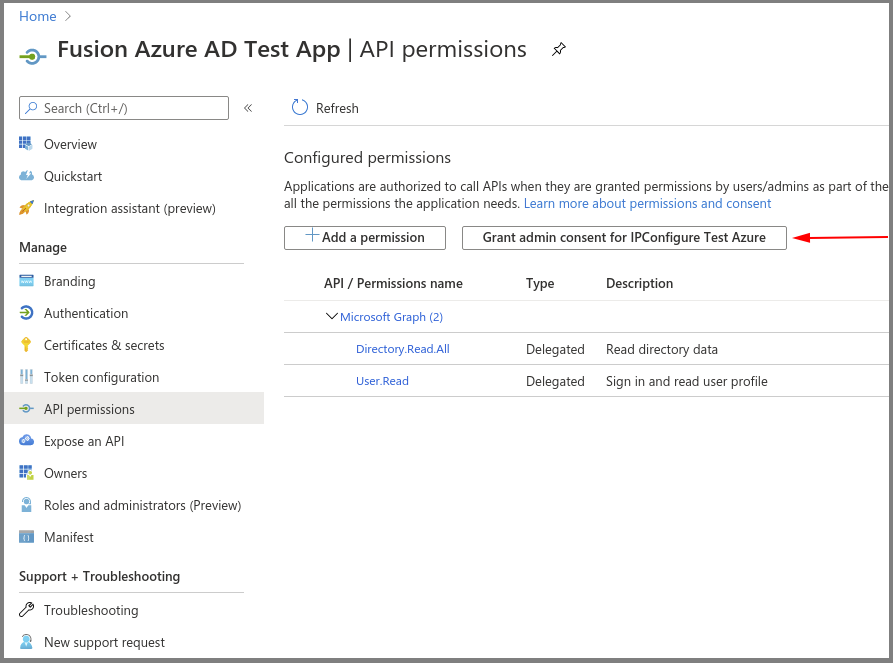
Azure AD App – API Permissions
- Go to API permissions, then select Add a permission.
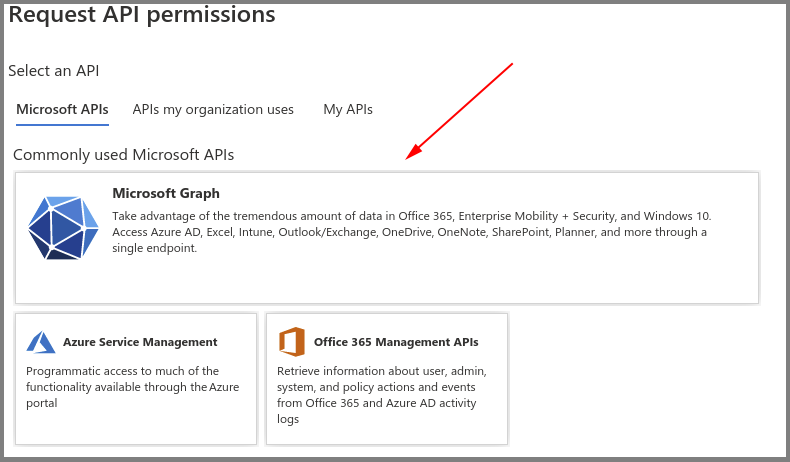
- Select the Microsoft Graph.
- Select the Directory.Read.All delegated permission.
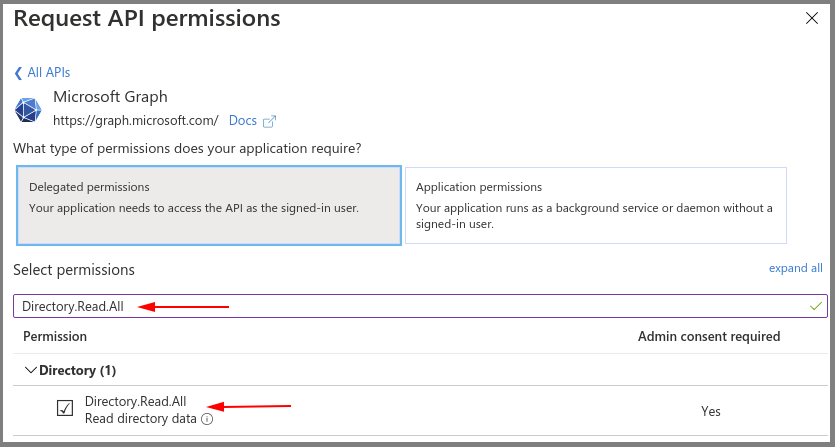
- Select Grant admin consent for your application.
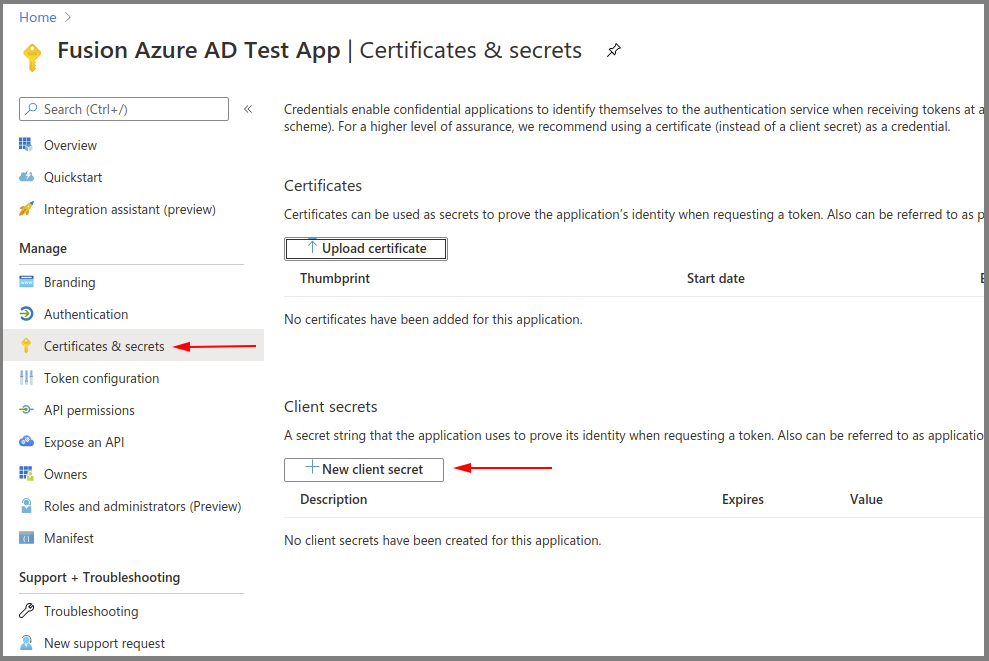
Azure AD App – Certificates & Secrets – Create a New Client Secret
- Select New client secret to create a new secret value.
- Save the secret value because it will not be available later. (Copy the secret value to a secure location.)
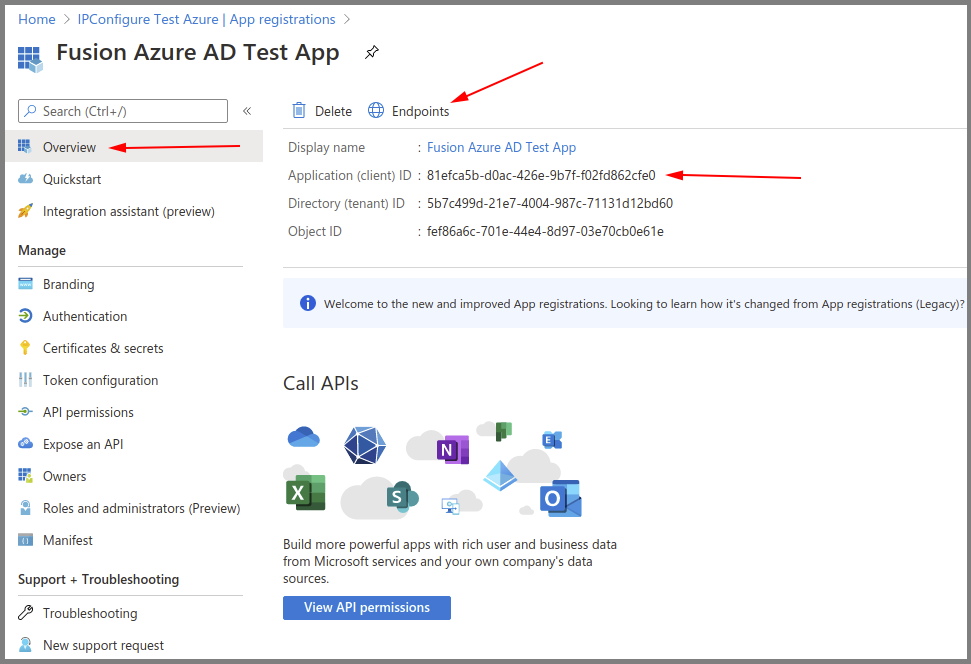
Azure AD App – Save the Client ID and OAuth 2.0 Authorization Endpoint (v1)
- Go to the Overview.
- Make note of the Azure Application (client) ID value for later use.
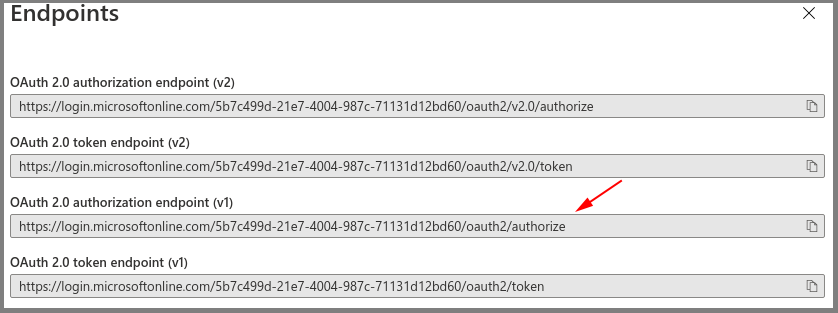
- Select Endpoints.
- Make note of the OAuth 2.0 authorization endpoint (v1) value for later use.
At this point, you should have all of the required values to enable Azure Active Directory-based authentication in Orchid Fusion VMS. Return to the previous section (Enabling Azure Active Directory) for instructions on modifying the Orchid Fusion VMS configuration file to enable Azure Active Directory authentication. Once enabled, you may add one or more Orchid Fusion VMS Permission Groups that pull users from your Azure Active Directory. (For details on adding Permission Groups, please refer to the Add a Permission Group for Azure Active Directory section in the Orchid Fusion VMS Administrator Guide.)
Post your comment on this topic.