
Directional Blur
This effect blurs the image in a specific, user-defined direction.
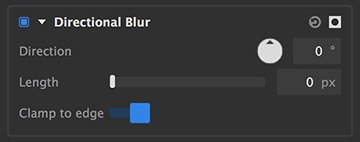
- Direction: Turn the dial to indicate the direction in which the image should be blurred. The current angle is indicated in the readout next to the dial.
- Length: Sets the distance, in pixels, that each pixel of the image will be blurred.
- Clamp to edge: When enabled, this option ensures that the edges of the image do not become semi-transparent when the blur is rendered.
Gaussian Blur
A simple blur which blends each pixel with the pixels surrounding it on all sides, to a radius defined by the user.
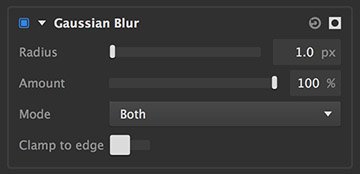
- Radius: Sets the range, in pixels, of the blur. A radius of 10, for example, means that each pixel will have its color value averaged with all value of all pixels within a 10 pixel radius.
- Amount Adjusts the balance of the blurred image and the source image. An amount of 100% shows only the blur, and an amount of 0 shows only the original image.
- Mode: Sets the orientation in which the blur is calculated.
- Both: The default option, which blurs the image both horizontally and vertically
- Horizontal: Blurs the image left to right, calculating the blur based only on the values of other pixels to the left and right.
- Vertical: Blurs the image top to bottom, calculating the blur based only on the values of other pixels above and below.
- Clamp to edge: When enabled, this option ensures that the edges of the image do not become semi-transparent when the blur is rendered.
Grain
Adding grain to your images can be useful for a variety of purposes, including matching existing grain in other elements of a composite, artificially aging an image, or artistic purposes. Grain is similar to noise, but more organic in nature. In general, grain is a property of film stock in traditional photography, in contrast to noise, which is created by digital cameras.
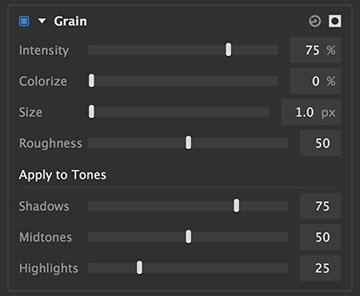
- Intensity: Sets the opacity of the grain that is overlaid onto your image.
- Colorize: Adjusts the amount of color in the grain. 0% gives a monochrome black grain, and increasing the value gradually introduces more color into the grain.
- Size: Sets the size of the individual grains.
- Roughness: Adds a second, finer layer of grain over the primary grain. Higher values add more of the finer grain.
Apply to Tones
The grain created by cameras tends to affect shadows more than other areas. For added realism, you can control the degree to which different tones of your image are impacted by the grain settings.
- Shadows: Sets how much grain is added to the shadow areas of your image.
- Midtones: Sets how much grain is added to the midtone areas of your image.
- Highlights: Sets how much grain is added to the highlight areas of your image.
Noise
Adding noise to your images can be useful for a variety of purposes, including matching existing noise in other elements of a composite, artificially aging or distressing an image, or artistic purposes. Noise is similar to grain, but digital in nature. In general, noise is created by digital cameras, in contrast to grain, which is a property of film stock in traditional photography.
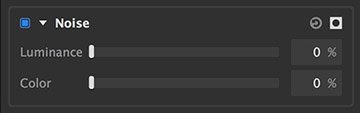
- Luminance: Raising this value increases the amount of luminance noise in your image. Luminance noise is black and white.
- Color: Raising this value increases the amount of chrominance noise in your image, which randomly affects the three color channels of the image.
Sharpen
Sharpening is used to increase micro contrast around fine edges on the image, which causes the edges stand out more and appear to be in sharper focus. Oversharpening can result in unwanted halos near the edges, so this effect should be applied judiciously for best results. The settings used will vary based on the resolution of the image and the intended purpose of the final image. Sharpening for print will generally use slightly higher settings than sharpening for viewing on a screen, for example, and the size of the fine details in an image that is 600 × 800 pixels will be different than the same details in an image 4000 × 6000 pixels.
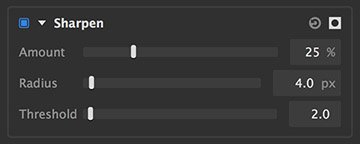
- Amount: Defines the intensity of the sharpening effect.
- Radius: Sets the distance from the edges, in pixels, that the sharpening will affect. The radius should be kept fairly low in most cases, and the lower your image resolution, the lower the radius should be.
- Threshold: Controls the edge detection, to determine which edges in the image will be affected. The threshold sets the level of contrast which will be identified as an edge. In general, edges in your image are located where one color stops, and another begins. However, non-edge ares can also contain transitions of color. A very low threshold mans that only the areas of highest contrast are sharpened, while increasing the threshold will add sharpening to more detected edges.
While sharpening can be very useful for improving soft edges or drawing attention to a specific area of the frame, it cannot move the focal point to actually correct an out of focus image, nor can it remove motion blur that was captured in the camera. Best results will always come from capturing a properly focused image in camera.
Zoom Blur
This effect works by blurring the image outward from a specified center point. It creates a similar effect to quickly extending a zoom lens during an exposure.
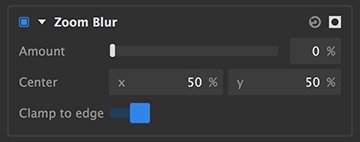
- Amount: Sets the length of the blur, as a percentage of the source image size.
- Center: Sets the center point from which the blur will emanate. The center is also identified on the viewer as a white circle, which can be dragged to set the center position.
- Clamp to edge: When enabled, this option ensures that the edges of the image do not become semi-transparent when the blur is rendered.
Need more help with this?
Don’t hesitate to contact us here.