
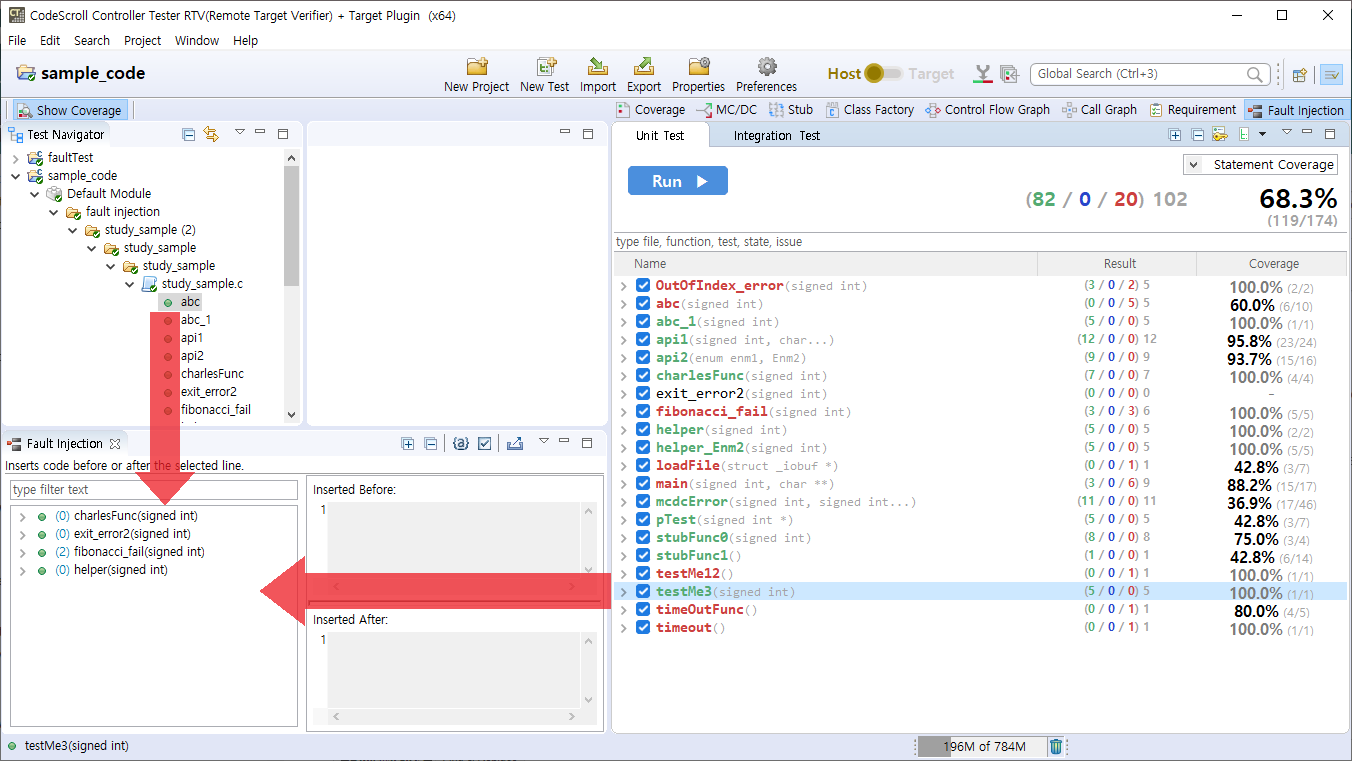
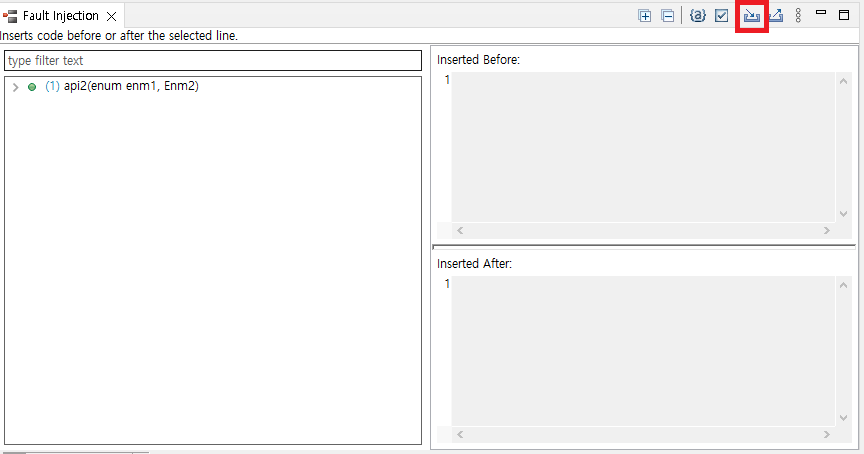
The Fault Injection View provides the feature for inserting the code needed to test additionally into the specific area of the function to be tested.
- Drag and drop the function that you want to inject a fault from the Test Navigator View or the Unit Test View to the Fault Injection View.
![]()
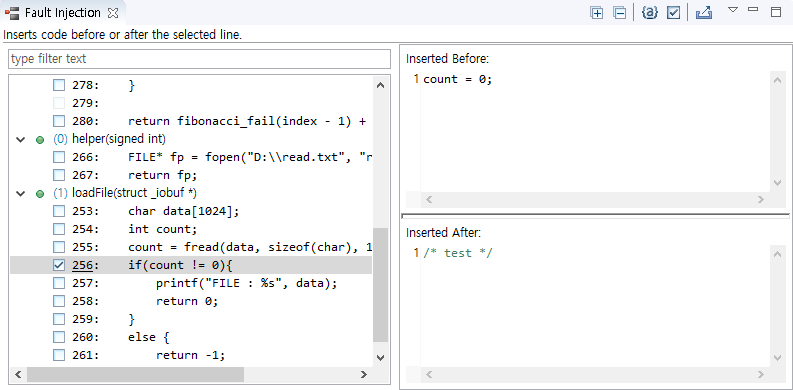
- In the tree structure on the left of the view, click the line that you want to inject a fault and, on the right of the view, enter the user code to insert before/after the line. The number of the line where user code is written is underlined.
![]()
- When check checkboxes of lines to insert, the user codes are applied. In the source code editor,
![]() (before the line),
(before the line), ![]() (after the line) markers appear at that lines. When mouse is on the markers, the tooltip about fault injection information and written code appears.
(after the line) markers appear at that lines. When mouse is on the markers, the tooltip about fault injection information and written code appears.
![]()
- When check checkboxes of lines to insert, the user codes are applied. In the source code editor,

Toolbar menu in the Fault Injection view
| Toolbar icon | Description |
|---|---|
| |
Expand all function trees in Fault Injection view. |
| |
Collapse all function trees in Fault Injection view. |
| |
View only the line where the fault injection code is written among the fault injection lines. |
| |
View only active lines among fault injection lines. |
| |
Import fault injection information with .xls format. |
| |
Export fault injection information with .xls format. |
Context menu in the Fault Injection view
Function nodes and lines can be multi-selected to bring up the context menu.
Context menu of function nodes

| Menu | Description |
|---|---|
| |
Remove the function inserted by users. |
Context menu of lines
| Menu | Description |
|---|---|
| |
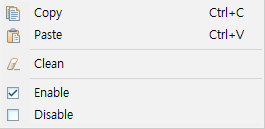
Copy the information inserted by user before/after the line. |
| |
Paste the information inserted by user before/after the line. |
| |
Uncheck the checkboxes of the selected lines and remove inserted code. |
| |
Check the checkboxes of the selected lines and activate fault injection. |
| |
Uncheck the checkboxes of the selected lines and deactivate fault injection. |
Pull-down menu
| Menu | Description |
|---|---|
| |
Note the Reconfiguring Fault Injection |
Export Fault Injections
- Select the [Export Fault Injections] icon from the toolbar menu.
![]()

- In the directory dialog, specify the save location for the fault injection file (.xls) and then select the [Save] button.
![]()

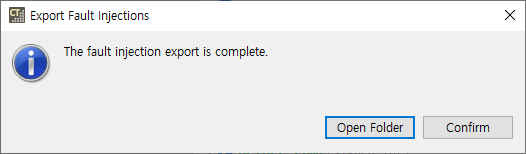
- If the export is successful, you can go directly to that path location.
![]()
Import Fault Injections
- Select the [Import Fault Injections] icon from the toolbar menu.
![]()
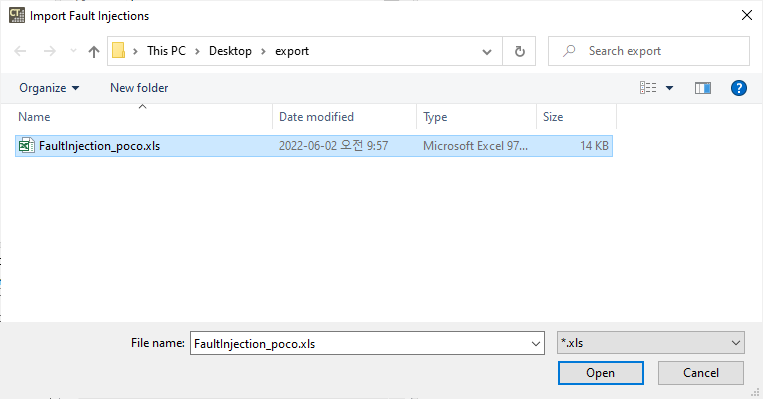
- Select the fault injection file to import.
![]()
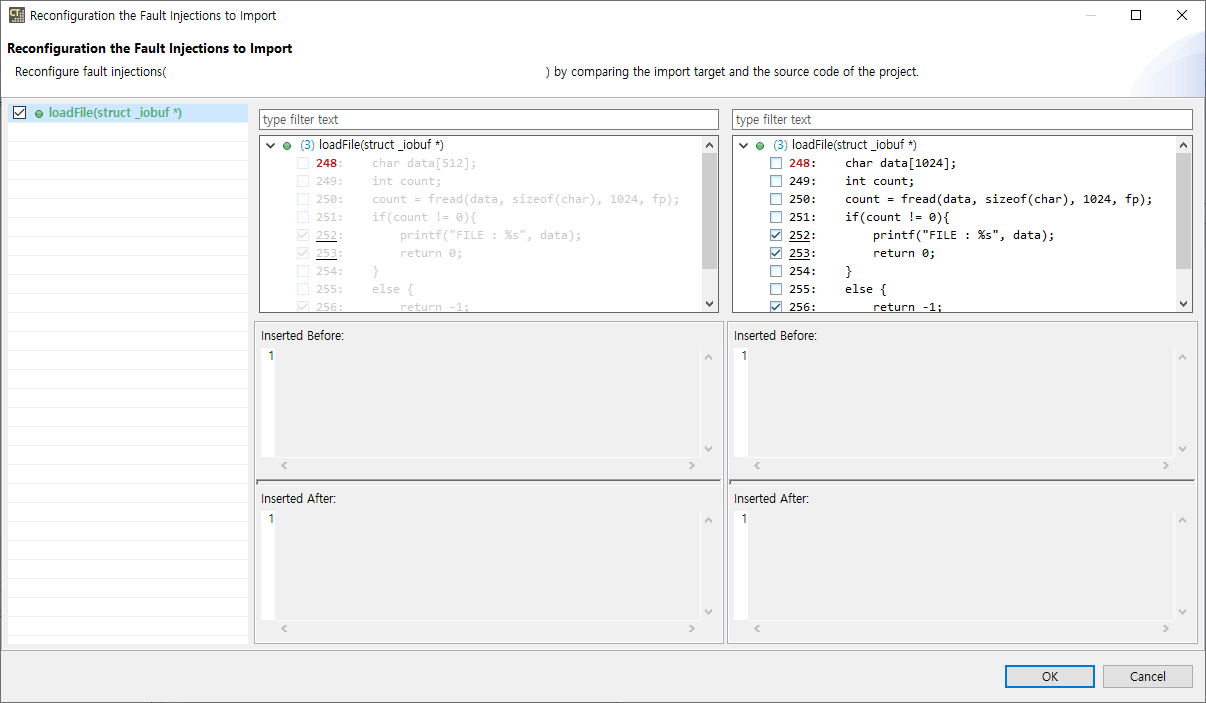
- If the source code of the fault injection information you want to import is different from the source code of the CT 2023 project, fault injection can be reused to match the changed source code using [Reconfiguration the fault injection to import] feature.
- If the source code shape is different when performing defect injection import, the following dialog will appear.
![]()
- You can reconfigure the import of fault injection by clicking the [OK] button.
![]()
- On the left, the source code of the fault injection information you want to import is displayed.
- On the right, the source code of the current project is displayed.
- If you click the [OK] button in the [Reconfiguration the Fault Injections to Import] window, you can import the reconfigured fault injection information.
- If the source code shape is different when performing defect injection import, the following dialog will appear.

- If you have fault injections already created in the same location as the fault injection information you want to import into your project, you need to decide whether to overwrite the fault injection.
- When importing fault injection, if there is fault injection information in the existing location, the following dialog will appear.
![]()
- The [Fault Injection Overwrite Warning] dialog shows the function, line, and location of the fault injection that does not match the existing information.
- If you select [Overwrite], the existing fault injection information will be overwritten with the fault injection information you want to import.
- If [Import excluding conflict functions] is selected, only fault injection information for functions except for conflict functions is imported.
- Clicking the [Cancel] button cancels the import of fault injections.
- When importing fault injection, if there is fault injection information in the existing location, the following dialog will appear.

Need more help with this?
Don’t hesitate to contact us here.
Copyright © 2025 Suresofttech
—
Powered by 