
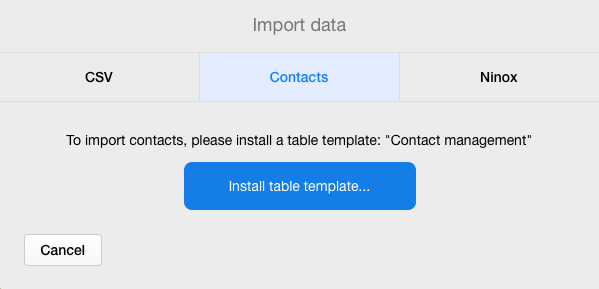
The import of a Contacts file consists of the following steps:
1. Click on the [Install Table Template] button that appears in the center of the Import Data screen (see above). Immediate after you click this button, Ninox will create a new table in the data model of your database. This table will be called “Contacts”. If you already have a table with this name in your data model, Ninox will display an error indicating that you are attempting to have two tables in the same database with identical names which is not permitted. In this case, rename the existing Contacts table to continue or abandon the operation by clicking [Cancel]
2. Click the [Import My Contacts] button that appears on the next screen
3. Confirm completion of the operation by clicking [OK] on the dialog box that will appear upon successful completion of the contact data import operation.
Need more help with this?
Don’t hesitate to contact us here.