Open the Orchid Fusion VMS executable file. You will be asked to allow the installer to make changes to your computer. Click Yes to allow the installer to open.
Before proceeding with the installation, close all other applications, then click Next to continue.
You will be asked to accept the End-User License Agreement. After reading the agreement, click the I Agree button to accept it.
You will be asked to select the components you want to install. Orchid Fusion and Shortcuts will already be checked.
Orchid Fusion VMS: This is the Orchid Fusion VMS application.
Shortcuts: This installs shortcuts on the computer to open the Orchid Fusion VMS user interface in a web browser.
Click the Next button to proceed with the installation for all selected components.
Beginning with Orchid Fusion VMS version 2.4.0, if you are performing an upgrade of your Orchid Fusion VMS, the installer will check the Orchid Core VMS version numbers on each of the registered Orchid Core VMS servers. Starting in Orchid Fusion VMS version 2.10, if any of the registered servers have an Orchid Core VMS version number older than 2.8.0, you will receive a warning message similar to the one pictured below.
You will need to upgrade older Orchid Core VMS servers before they will work in this new version of Orchid Fusion VMS.
Click the OK button to acknowledge this warning. The software installation will begin. (Proceed to step 12.)
If this is a first-time installation, the installer will ask you to set the Web Server Port and the Admin Password.
By default, the web server port is set to port 8080 (recommended for most installations). Update the port number only if Orchid Fusion VMS needs to use a port other than 8080.
Enter the password you would like to set for the default admin account in the Admin Password field.
Click the Next button to continue.
The installer will ask you to confirm the installation folder. By default this is C:\Program Files\IPConfigure\Orchid Fusion VMS and does not need to be changed. However, the installation directory can be updated, if needed.
Click the Install button to proceed with the installation. The installation will complete automatically without any additional prompts. This process may take a few minutes.
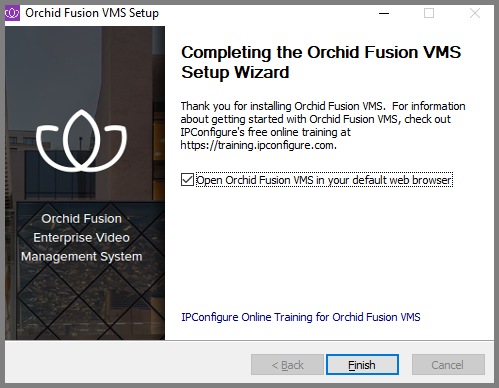
Once the installer says “Completing” at the top of the window, mark the Open Orchid Fusion… checkbox if you want to open Orchid Fusion VMS in your default web browser upon exit.
Click the Finish button to close the installer. Orchid Fusion VMS will automatically open in the computer’s default web browser (if so marked). (For more details on signing in, please refer to the Enabling … topics included in the Installation Support Topics section, and the Sign In topic in the Orchid Fusion VMS Administrator Guide.)


Post your comment on this topic.