
IPConfigure distributes a single Windows installer that is valid for all 64-bit versions of Windows 7 and up, as well as 64-bit Windows Server 2008 R2 and up.
- Download the Orchid Core VMS executable file. You can find the latest version of the Orchid Core VMS on IPConfigure’s website at https://www.ipconfigure.com/download.
- Open the Orchid Core VMS executable file (ipc-orchid_22.12.0.exe, for example). You will be asked if you want to allow the installer to make changes to your computer. Click Yes to allow the installer to open.
- Before proceeding with the installation, close all other applications, then click Next to continue.
- You will be asked to accept the End-User License Agreement. After reading the agreement, click the I Agree button to accept it.
- You will be asked to select the components you want to install. Orchid Service, Orchid ONVIF Discovery Service, and Shortcuts will already be checked.
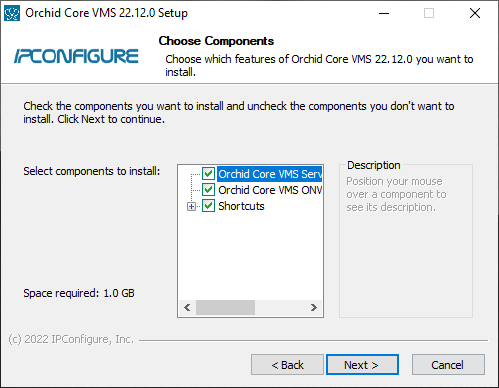
- Orchid Core VMS Service: This service is responsible for recording cameras, managing archives, and serving the web-based Orchid Core VMS user interface to your browser.
- Orchid Core VMS ONVIF Autodiscovery: This service is used by Orchid Core VMS to automatically discover ONVIF conformant cameras on your local network.
- Shortcuts: This installs a shortcut on the computer to open the Orchid Core VMS user interface in a web browser.
- Click the Next button to continue.
- If this is a new installation, the installer will ask you to set the Web Server Port, Admin Password, and the Archive Directory for storage. You will also have the opportunity to select the language for the user interface.
- By default, the web server port is set to port 80 (recommended for most installations). Update the port number only if Orchid Core VMS needs to use a port other than 80.
- Enter the password you would like to set for the default admin account in the Admin Password field.
- The default folder for video archives on Windows is C:\orchives. This can be changed to another directory, if needed.
- Use the Server Locale list to select one of the available languages. Current supported languages include the following: de (German), en (English), es (Spanish), fr (French), it (Italian), nl (Dutch), pt (Portuguese), and ru (Russian).
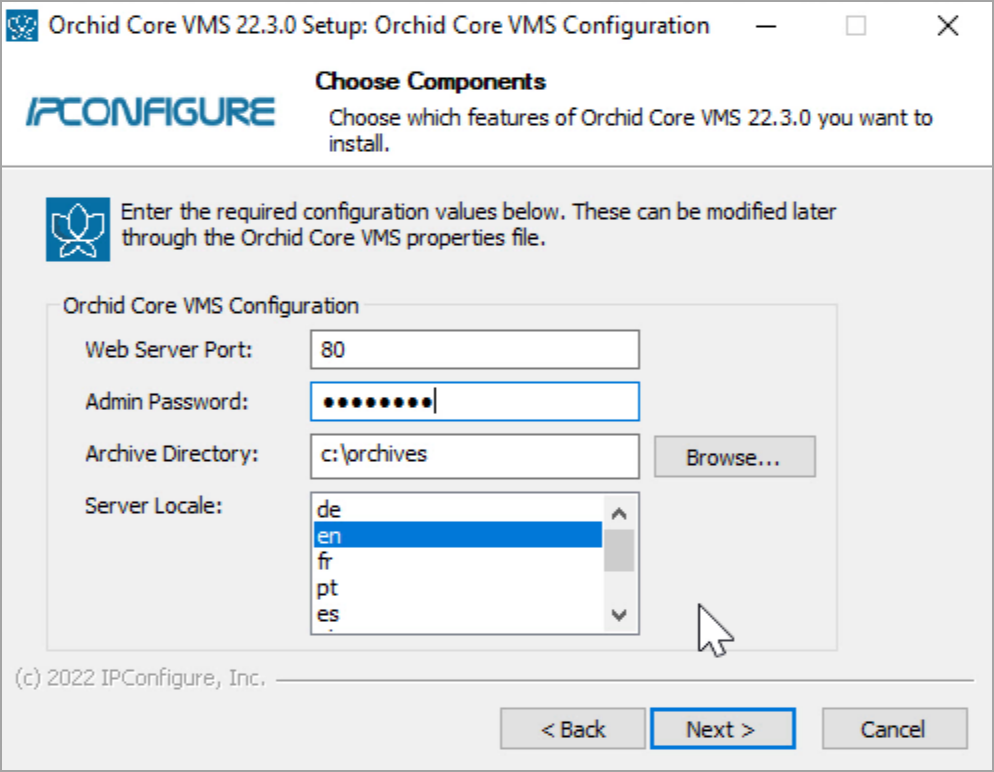
- Click the Next button to continue.
- The installer will ask you to confirm the installation folder. By default this is C:\Program Files\IPConfigure\Orchid and does not need to be changed. However, the installation directory can be updated, if needed.
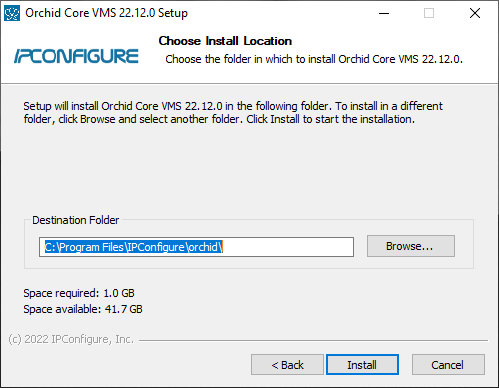
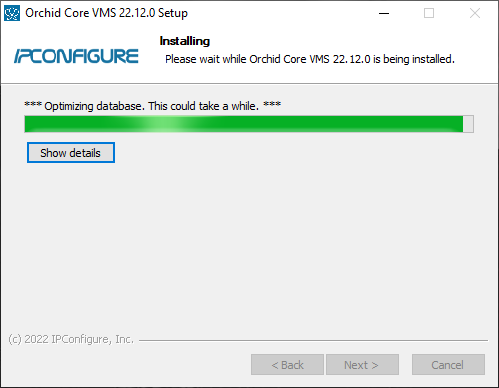
- Click the Install button to proceed with the installation. The installation will complete automatically without any additional prompts.
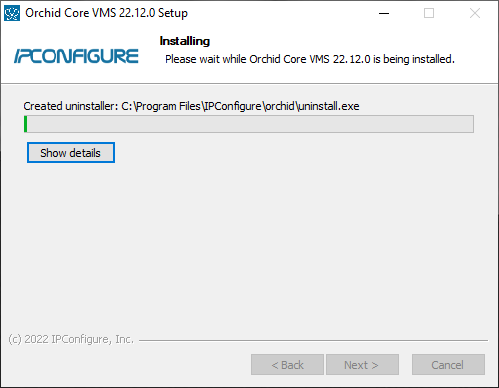
- Once the installer says “Completing” at the top of the window, mark the Open Orchid VMS… checkbox if you want to open Orchid Core VMS in your default web browser upon exit.

- Click the Finish button to close the installer. Orchid Core VMS will automatically open in the computer’s default web browser (if so marked).
If Orchid Core VMS is being installed on Windows Server, there may be some complications that prevent Orchid Core VMS from starting. If this is the case, please review the following section.
Orchid Core VMS Not Starting In Windows Server
Unless changed during installation, Orchid Core VMS uses port 80 by default for its internal web server. This can cause problems in Windows Server and prevent Orchid Core VMS from starting. To remedy this, please follow the procedure below.
- Open a web browser and go to http://localhost. If you receive a directory forbidden screen, or any screen that does not look like Orchid Core VMS, there is another program running that is using port 80.
- Open the Windows Start Menu and type Services into the search bar, or select Windows Administrative Tools.
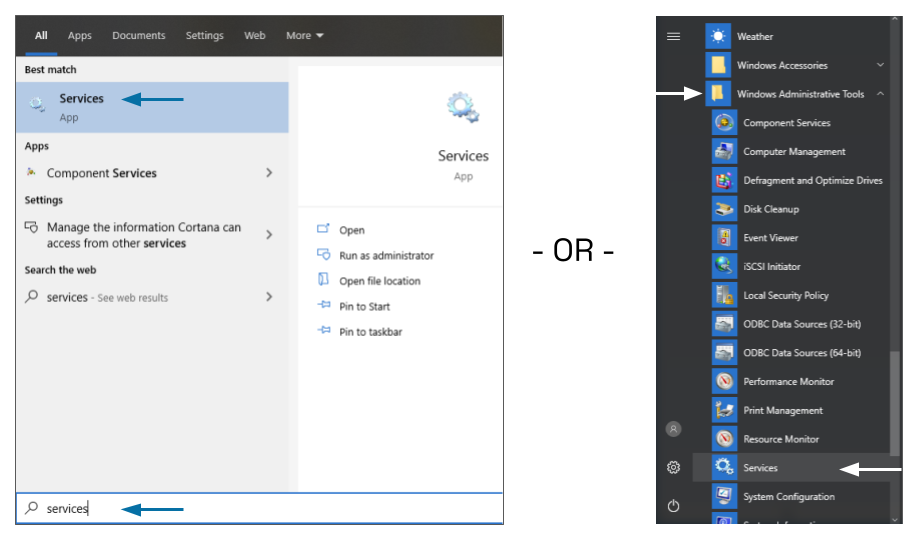
- Click the Services icon to open the Services Manager.

- Locate the service called World Wide Web Publishing Service.
- Right-click on the service and click Properties to open the service’s settings.

- Click the Stop button to stop the service.
- Change the startup type to Disabled to stop the service from automatically starting at boot.
- Click the OK button to save the new settings and close the window.
- Repeat steps 4-8 for the Windows Media Services service. This service will not prevent Orchid Core VMS from starting, but it will prevent it from streaming live video through port 554.
- Once both services have been stopped and disabled, locate the Orchid Server service. Right-click on it and select Start to start the Orchid Server service.
Orchid Core VMS will now be accessible through the browser and will be able to play and record video.
Post your comment on this topic.