
The clock can connect to the internet via a Wi-Fi router, but to do so, it needs to know the name and password (credentials). Once you successfully transfer the credentials to the clock, it will remember it forever and there is no reason to go through that connection process again. The clock can remember up to 5 different recently set wifi networks. The only reason to repeat the process with the same clock is when you change the Wi-Fi name or password or when you move the clock to a completely different Wi-Fi network.
Connecting the clock via mobile app
Open the iOS or Android app and follow the instructions below. I used iOS app for the illustrations:
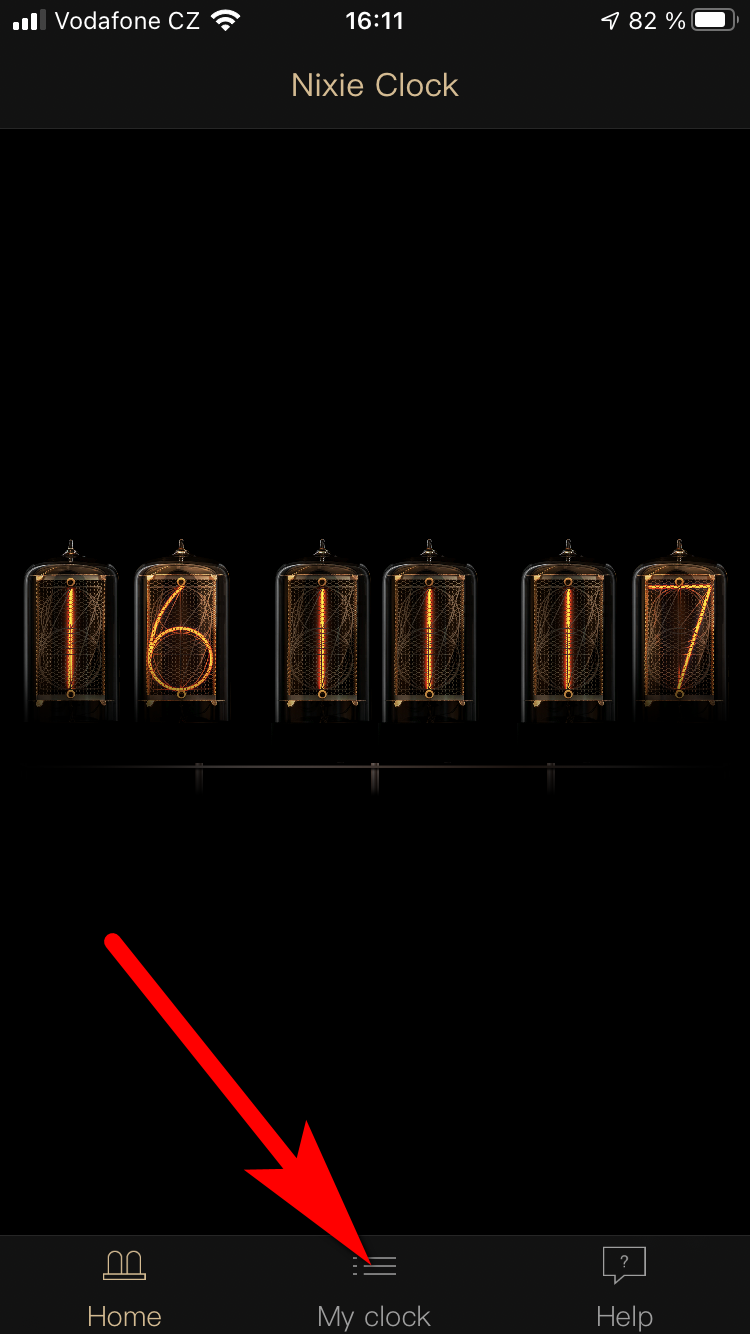
Click on the My clock tab at the bottom of the screen.

Click on the button Add nixie clock to the cloud.
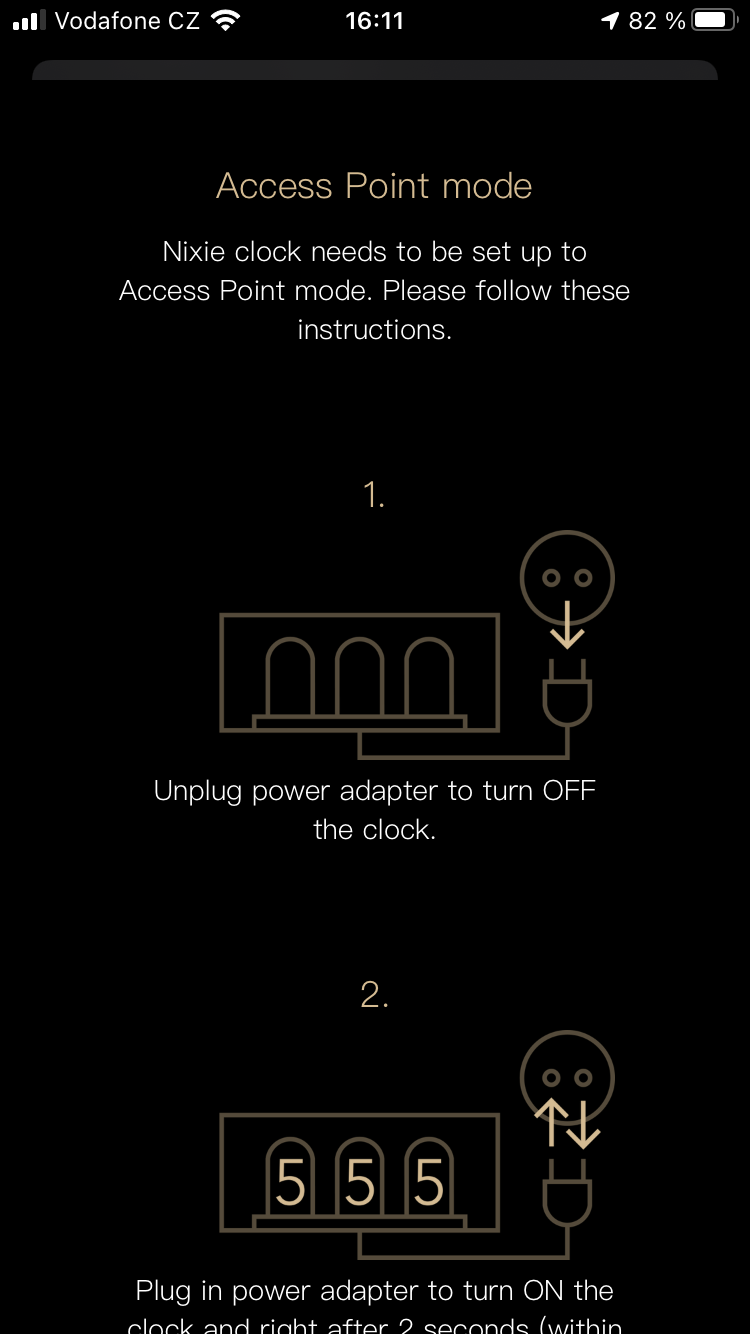
The app shows the instructions on how to switch the clock into the listening mode.
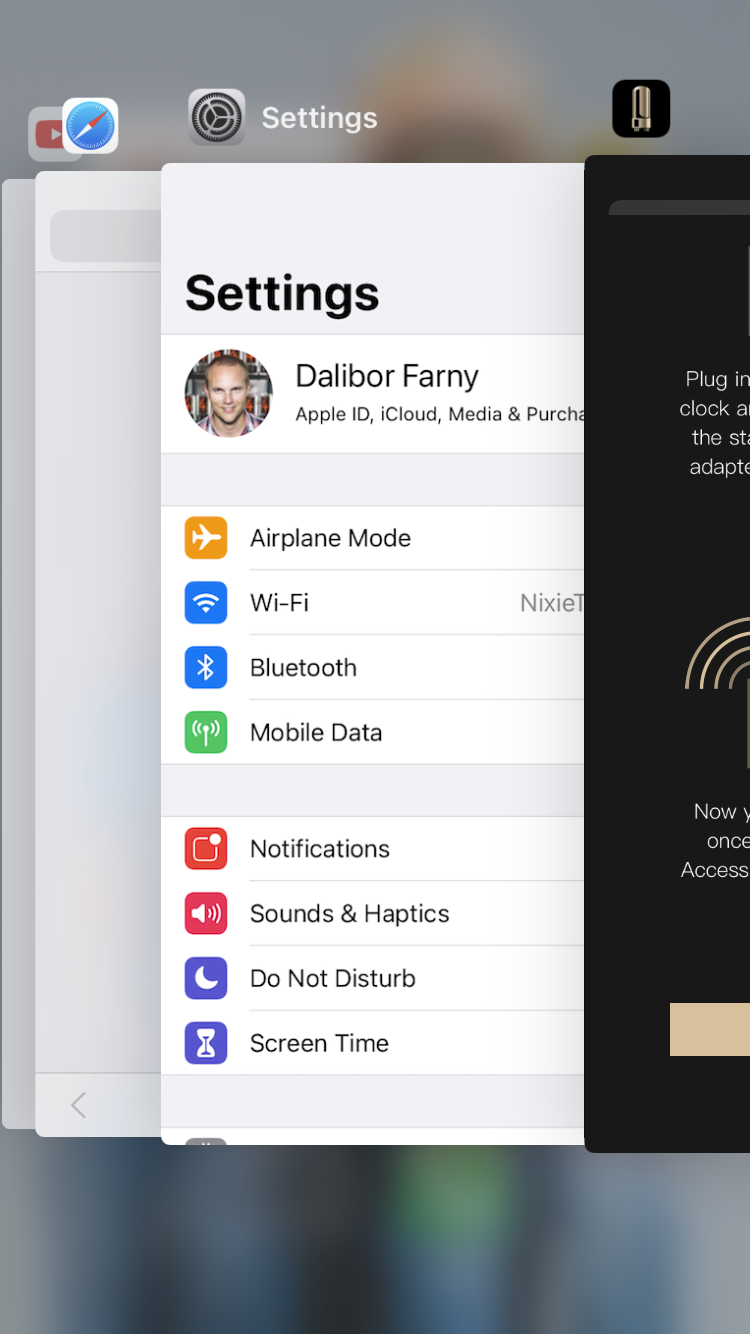
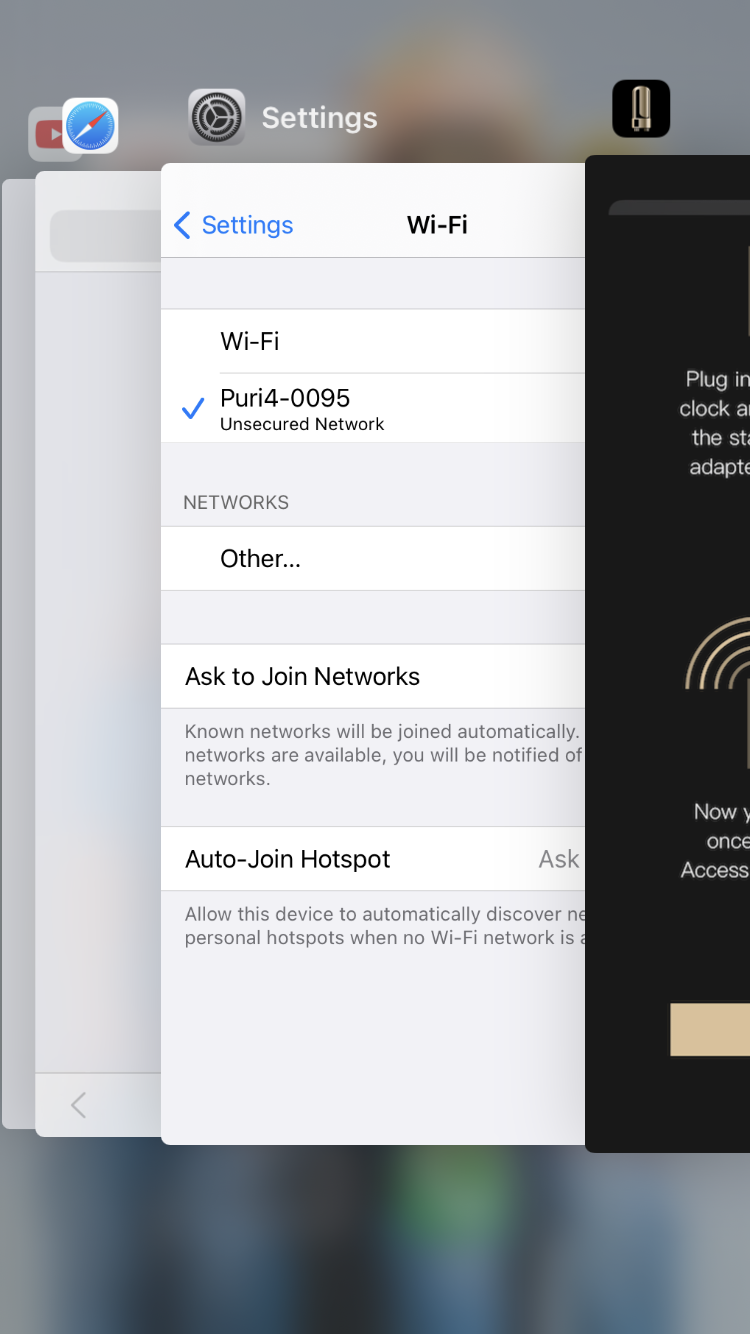
Once the clock is in listening mode, go to the Wi-Fi settings of the phone.

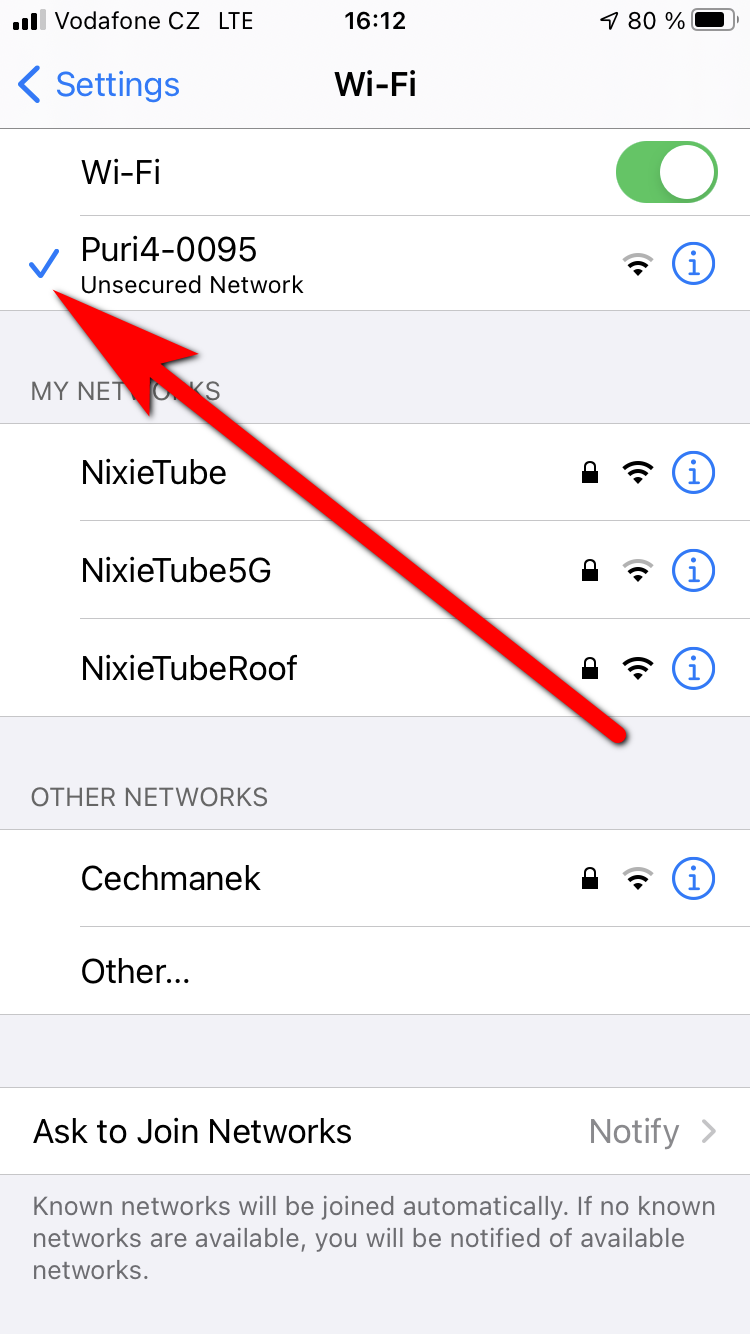
Search for the Wi-Fi network of your clock (PURI-XXXX) and connect to it.
Once the phone is connected to the clock, please switch back to the app.
Click the “It’s done, next” button.
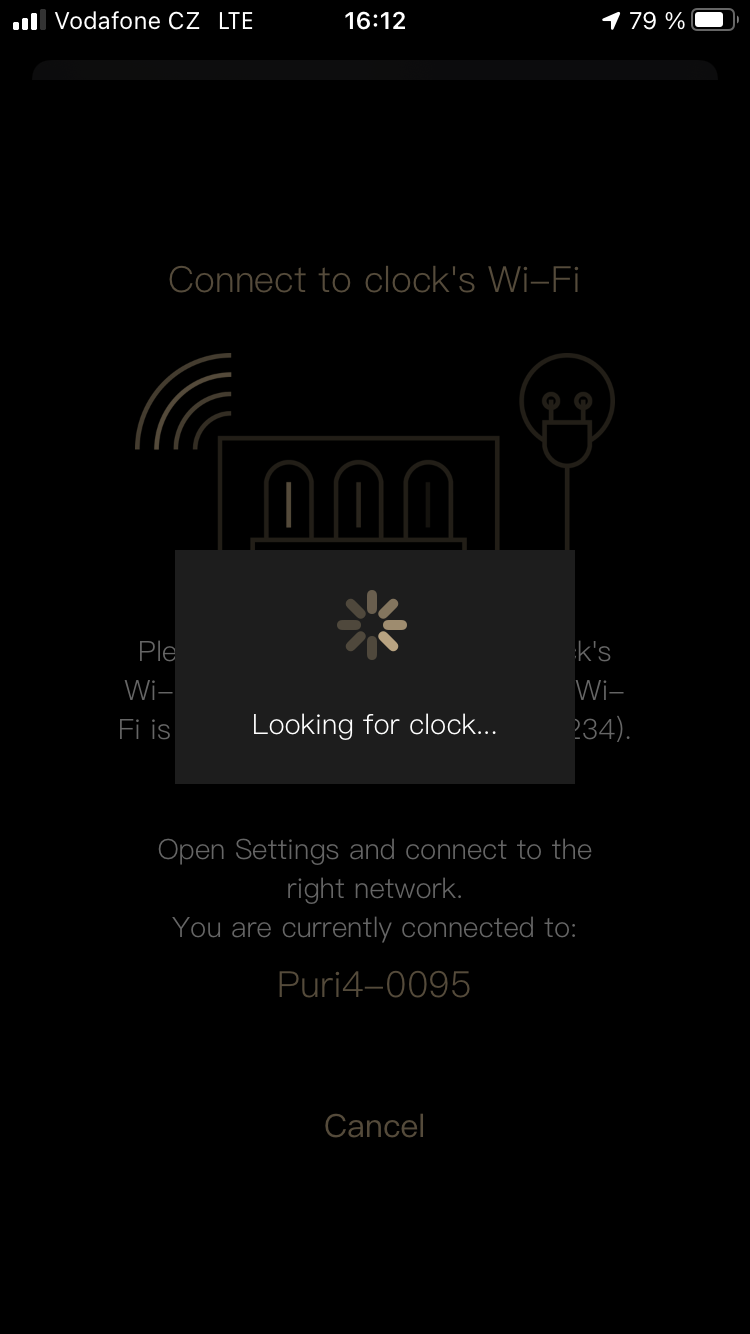
The app will establish a connection with the clock.
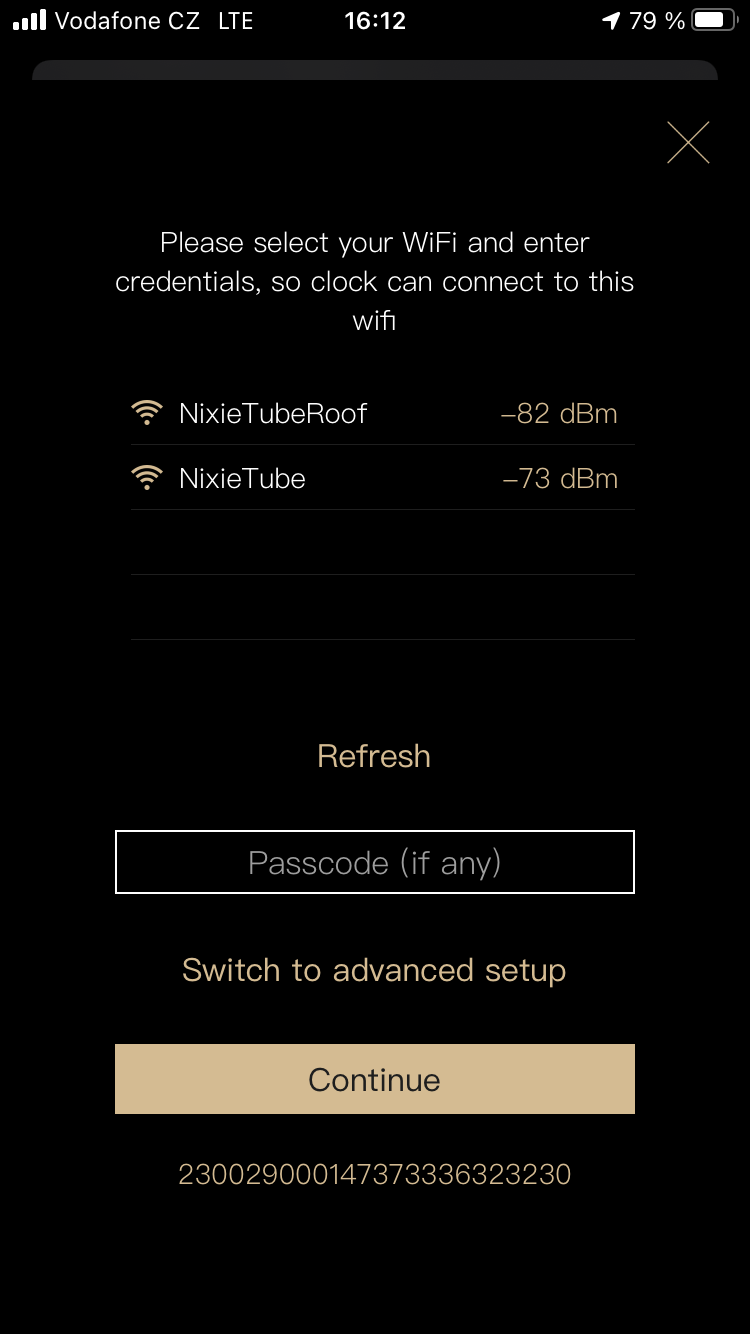
Once the connection is established, the app will scan for nearby Wi-Fi networks and display them.
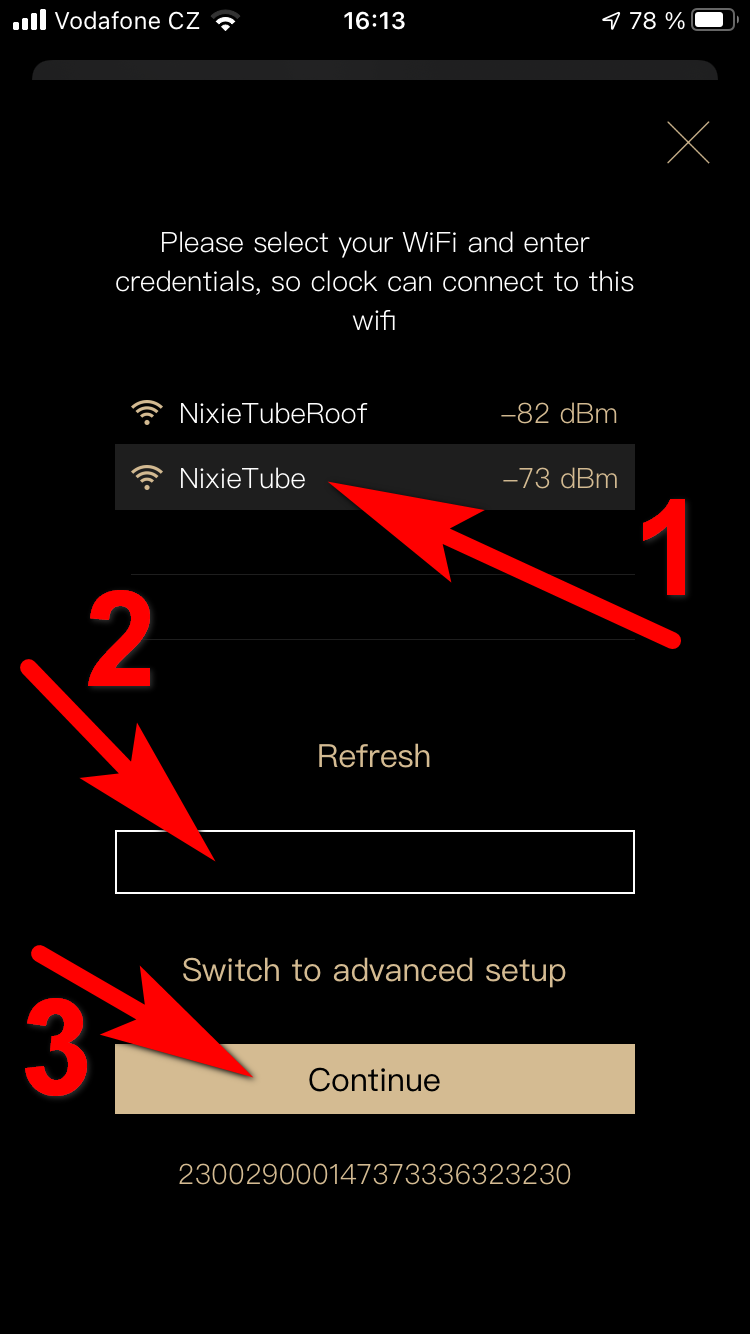
Select your Wi-Fi network to connect the clock to, enter a password for the network and click on the Continue button.

The app will send the credentials to the clock.
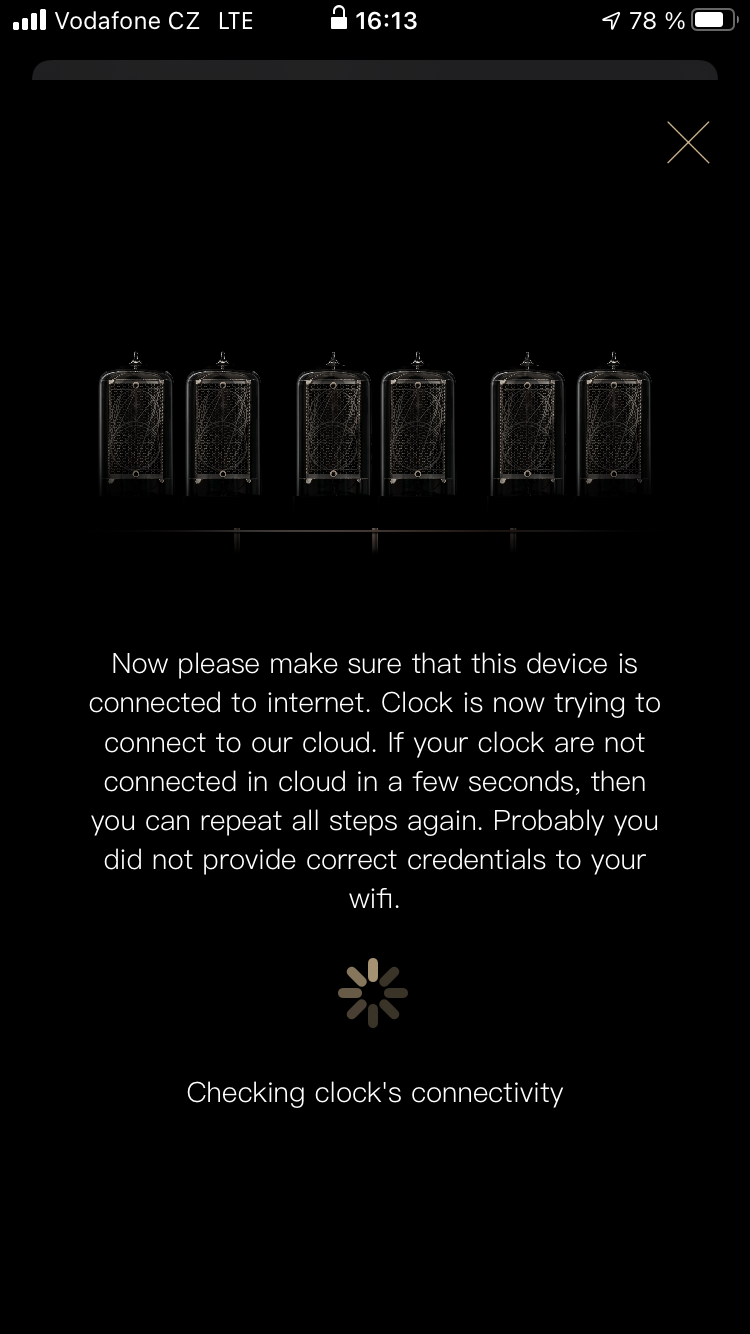
At this moment, the clock will disconnect from the phone and will start connecting to the internet. The phone will connect back to your Wi-Fi router.
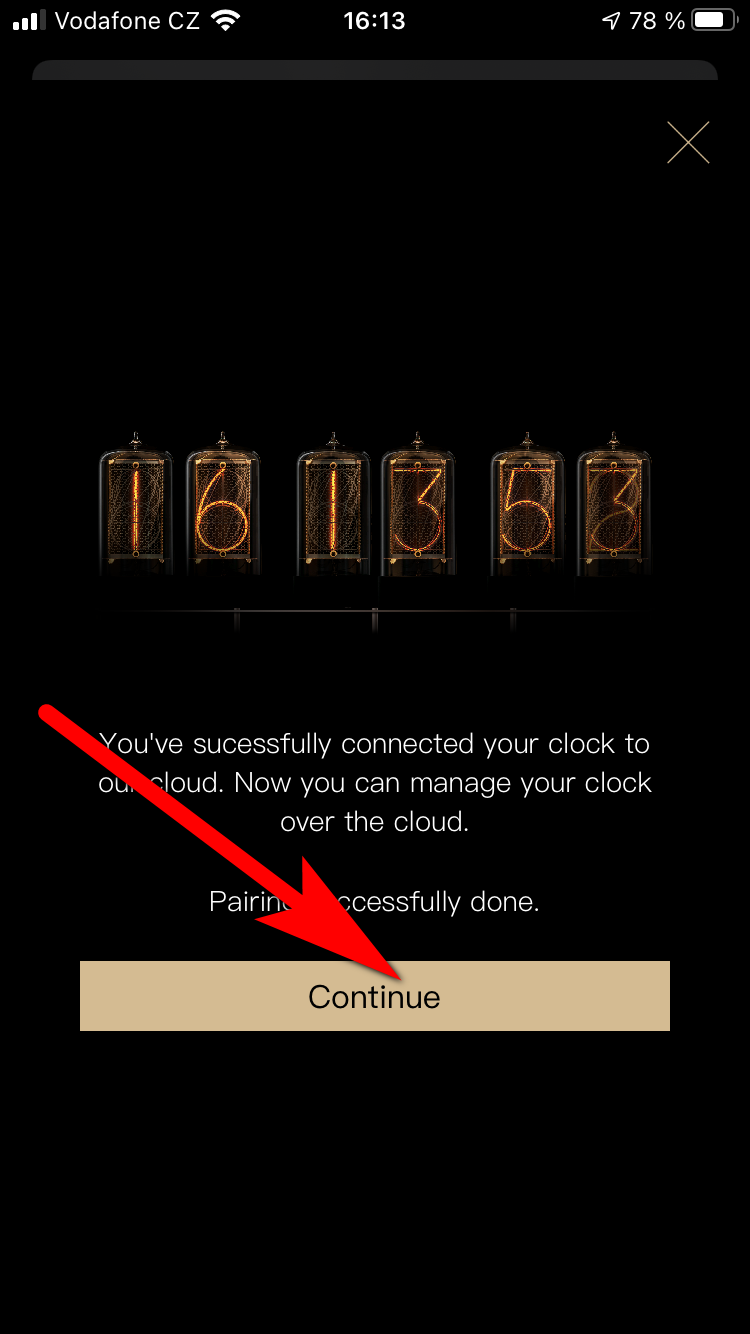
Once the clock is connected to the internet and the phone back at the Wi-Fi, you will see the screen above. Click the Continue button to get to the configuration page of your clock.
Connecting the clock via a Configuration website
The connecting process using the browser is currently suspended, we have developed a new way to connect the clock for customers who don’t want to use mobile apps.