Once you have those three pieces of information mentioned above, complete the following steps:
- Navigate to a site where you have added the DeliverPoint Add-In.
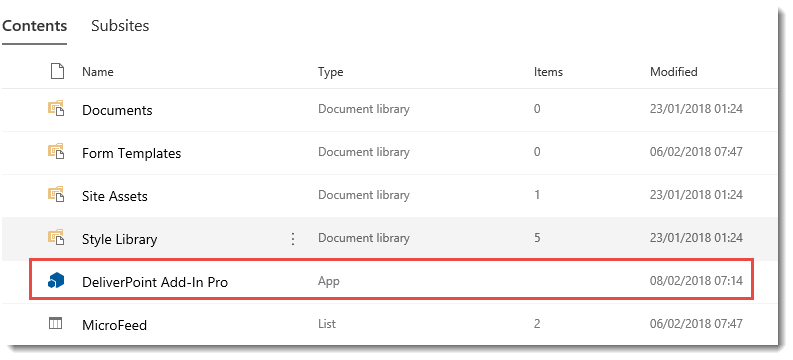
- From the Quick Launch or the site contents page, click DeliverPoint Add-In Pro.
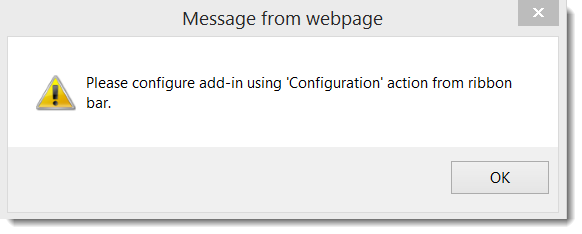
If a dialog box is displayed, stating to Please configure add-in using the ‘Configuration’ action from Ribbon bar., click OK.
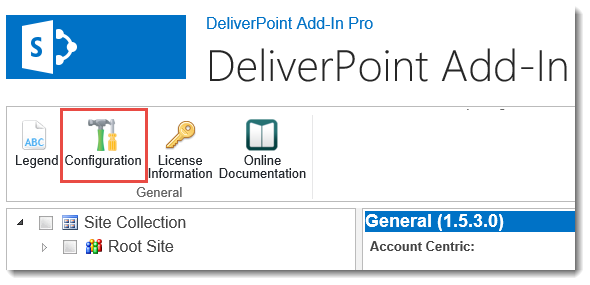
The DeliverPoint Add-In main page is displayed. - On the Ribbon, click Configuration in the General group. (Depending on your browser window, you may need to use the menu scroll bar to see all the menu options)
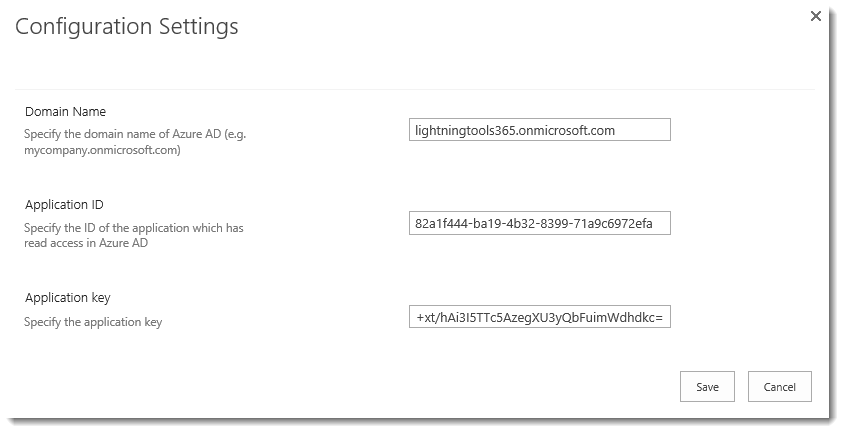
- In the Configuration Settings dialog window, enter the following information:
- Domain Name – Enter the domain name of your Office 365 tenant, for example, lightningtools365.onmicrosoft.com
- Application ID – Add the Application ID of the Azure application you created previously.
- Application Key – Add the Application Key of the Azure application you previously created.
- Click Save.


Post your comment on this topic.